Access Profiles User Guide: Level 3
This page describes how to use the Access Profiles feature if you have the highest permissions level.
View profiles
- Navigate to the Access Profiles page. You will find this in the left-hand menu of the Console. You will see a list of all access profiles.
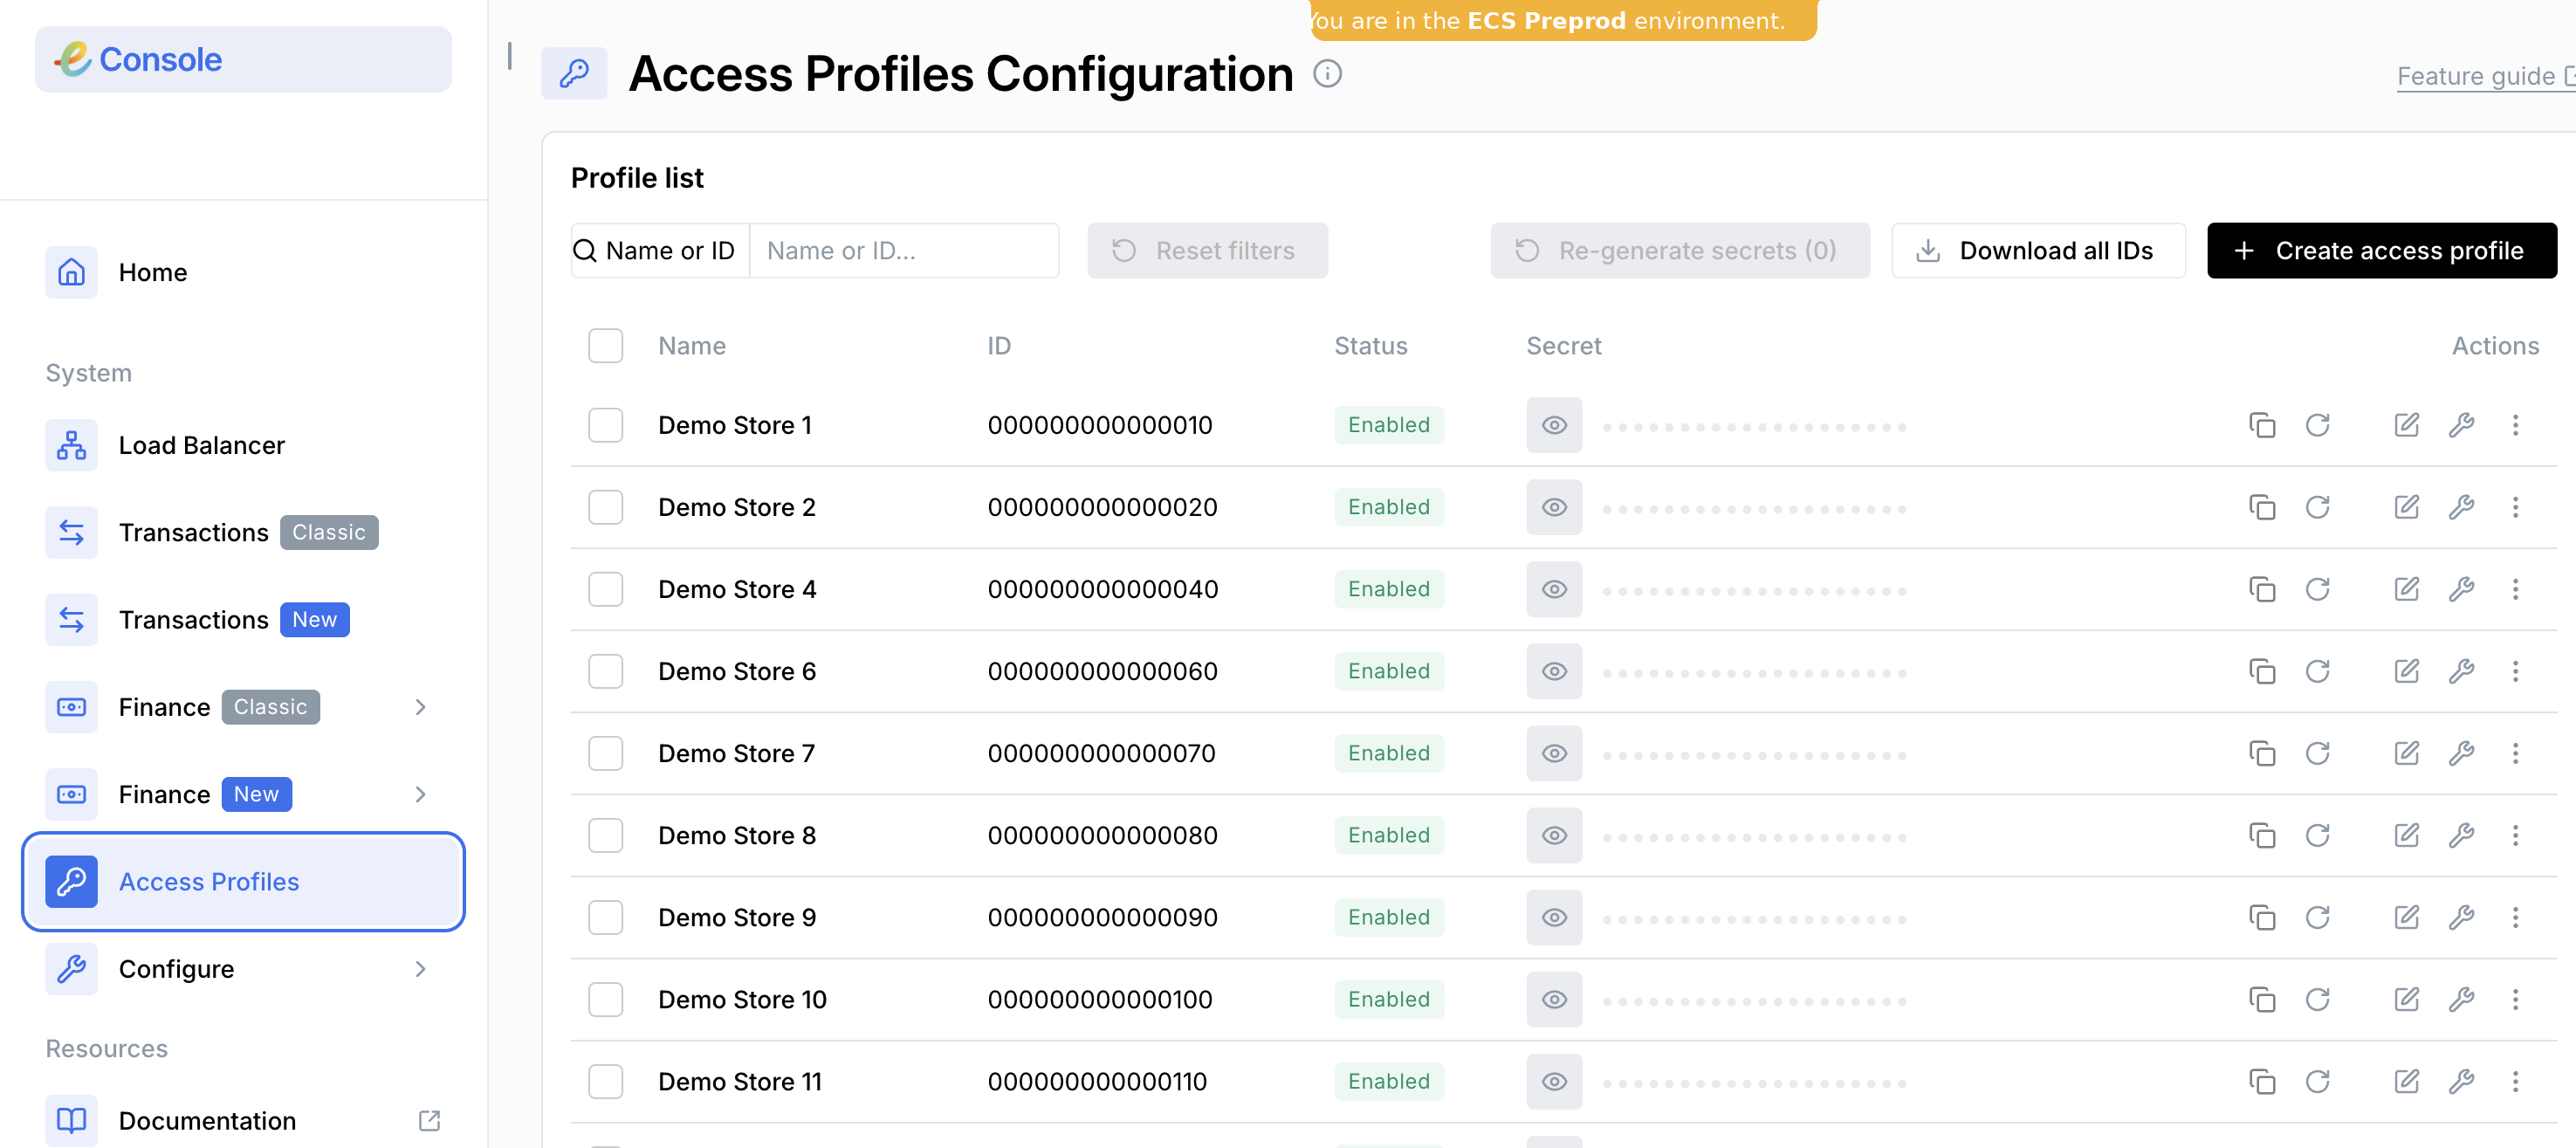
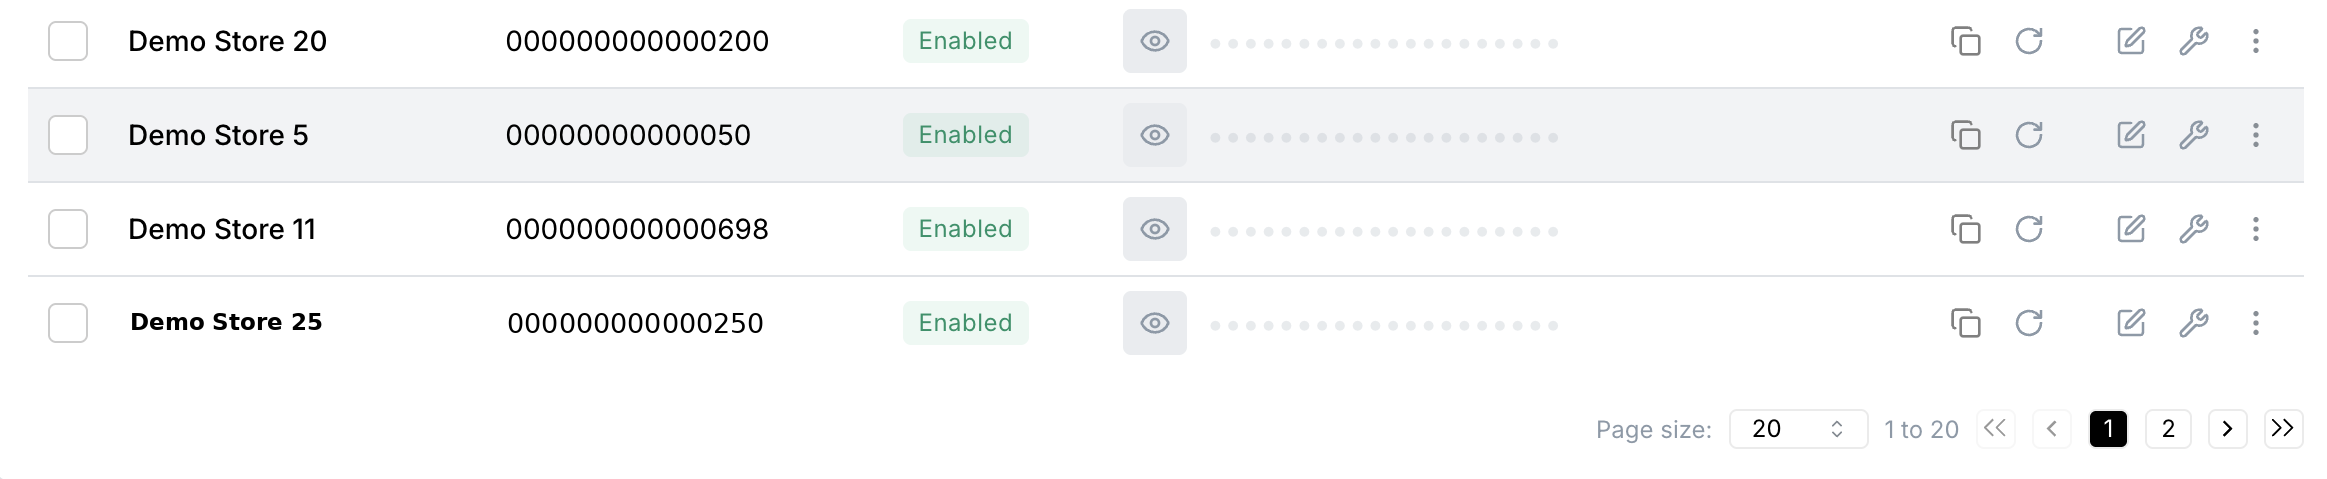
- Click on the arrows or the page numbers at the bottom of a screen to go to another page.
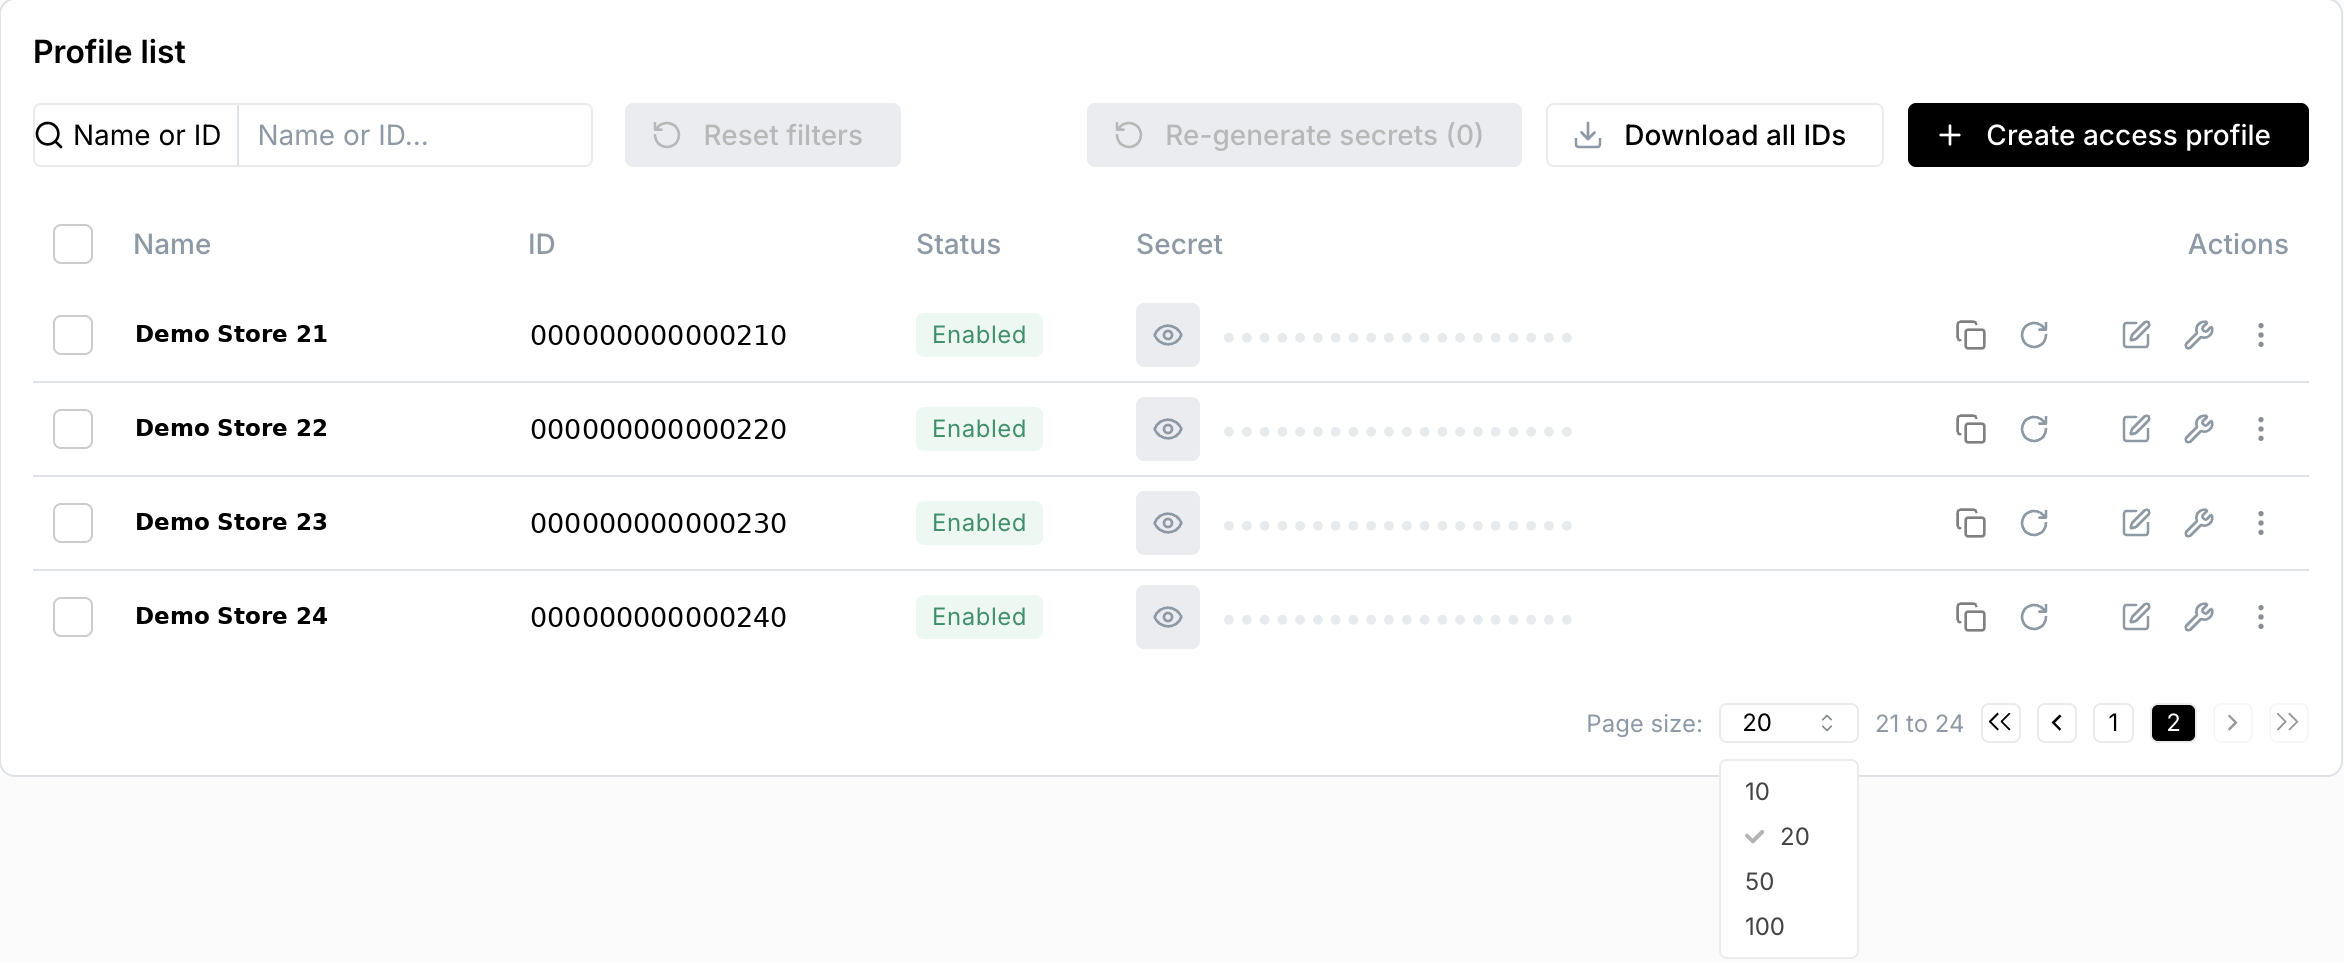
- You can also select the number of entries you want to display on the screen.
Search for a profile
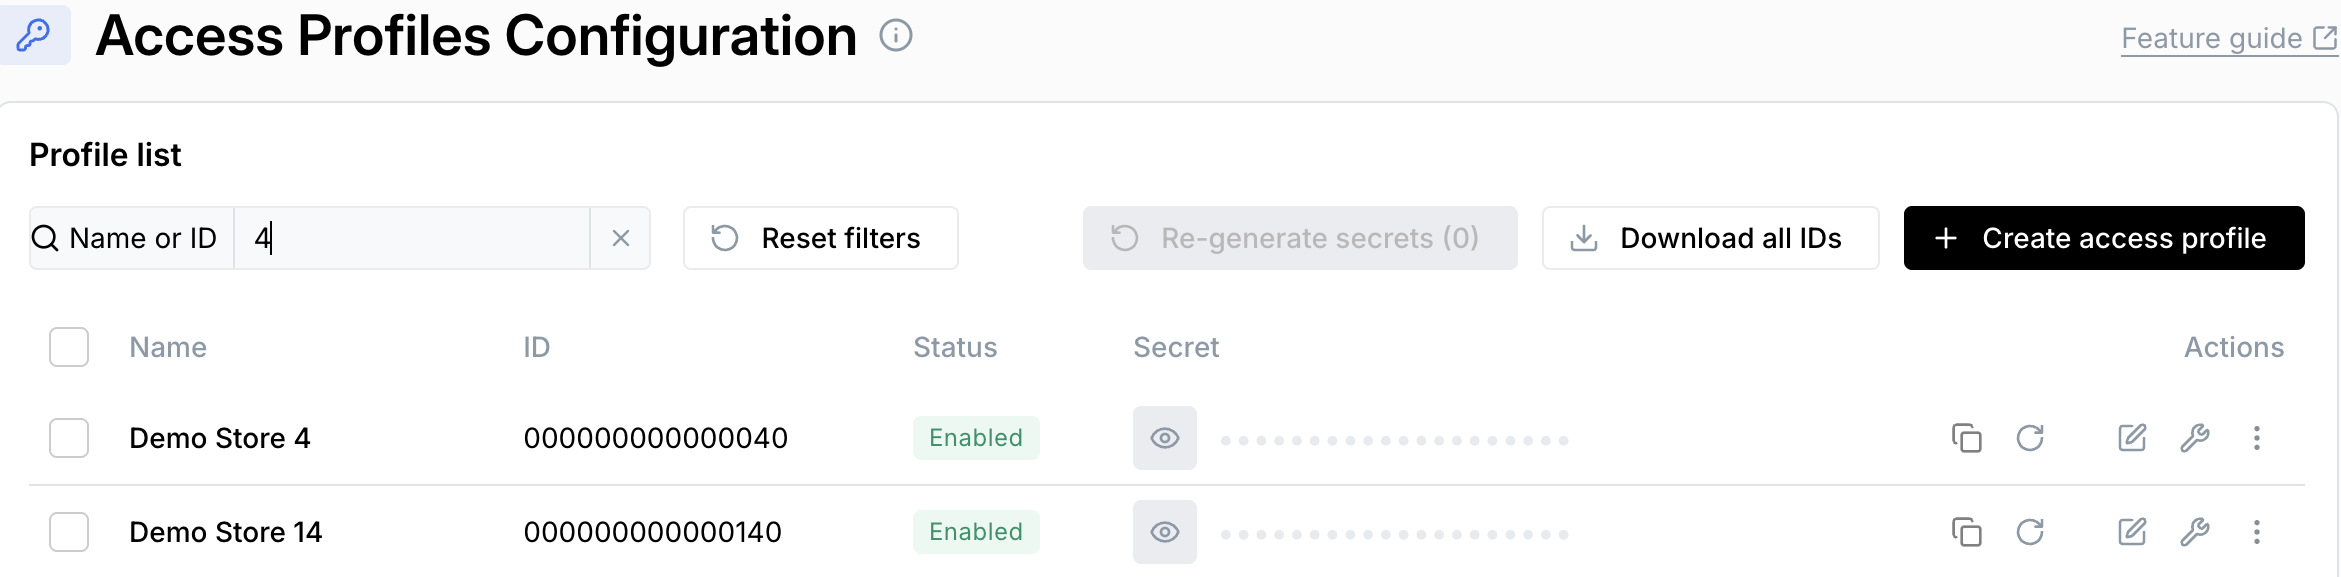
- Type in a full or partial profile name or ID in the Name or ID search bar at the top of the page.
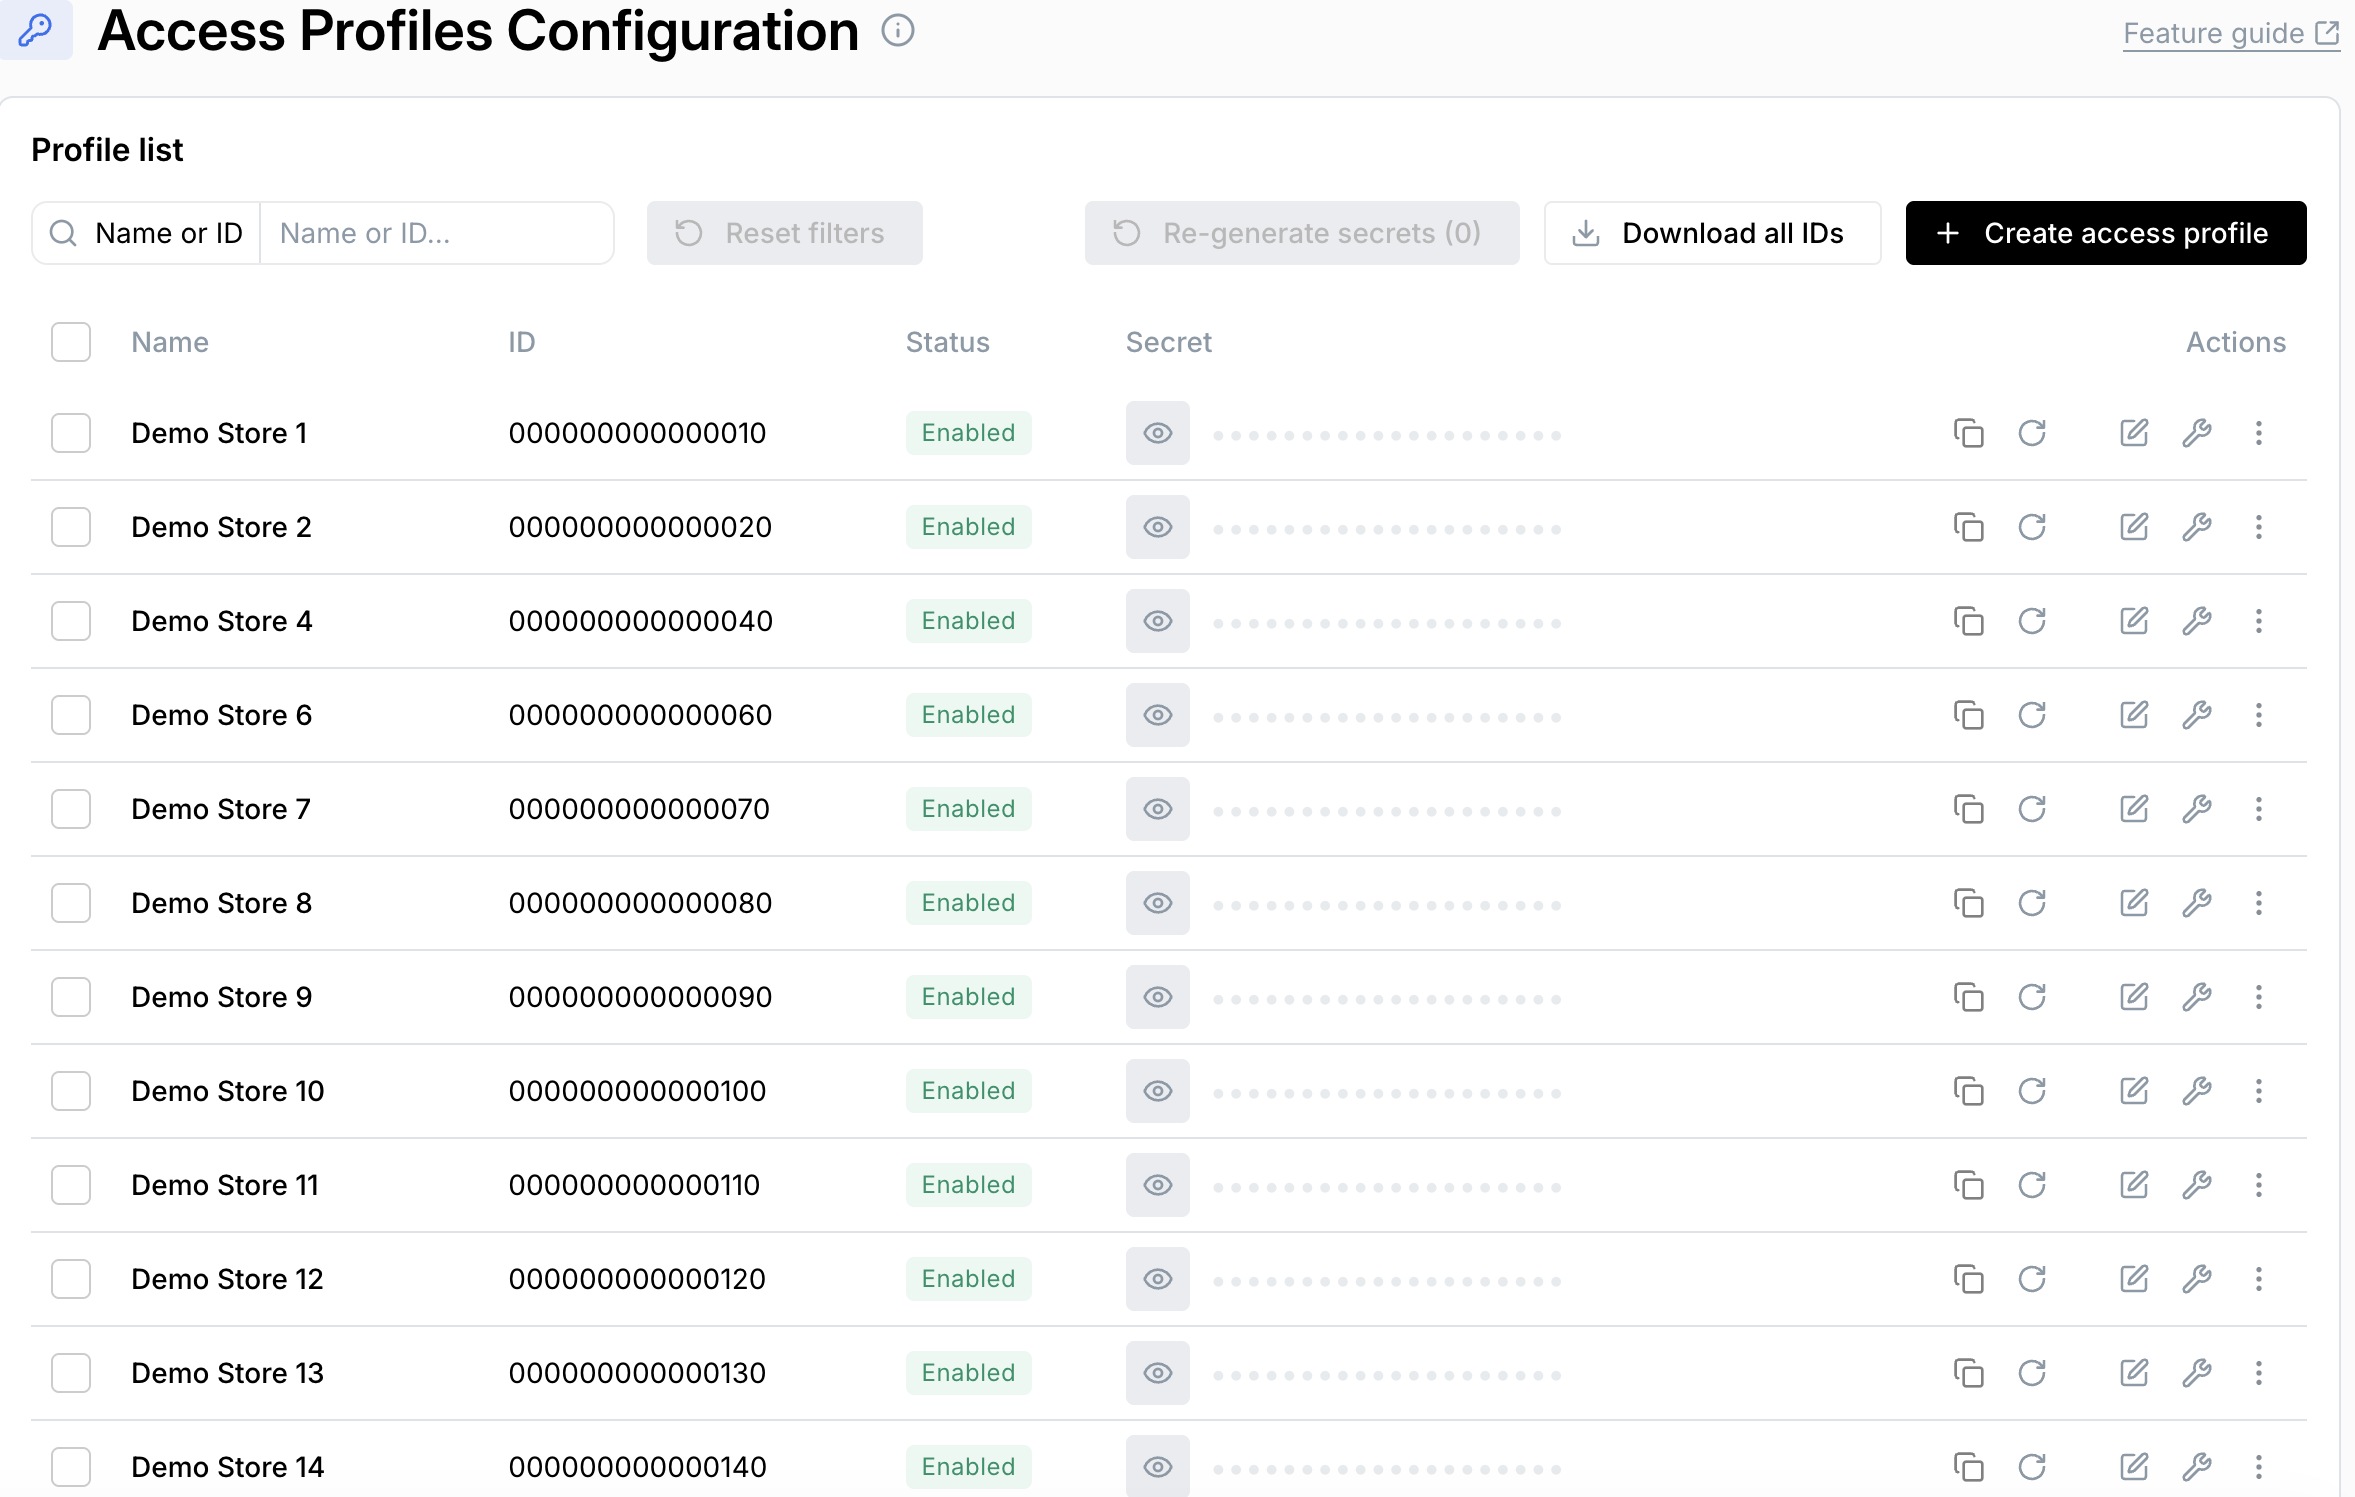
- As you type you will see a list of all profiles containing your search parameter.
Create an access profile
- Click the Create access profile button at the top right of the screen. The following modal will pop up.
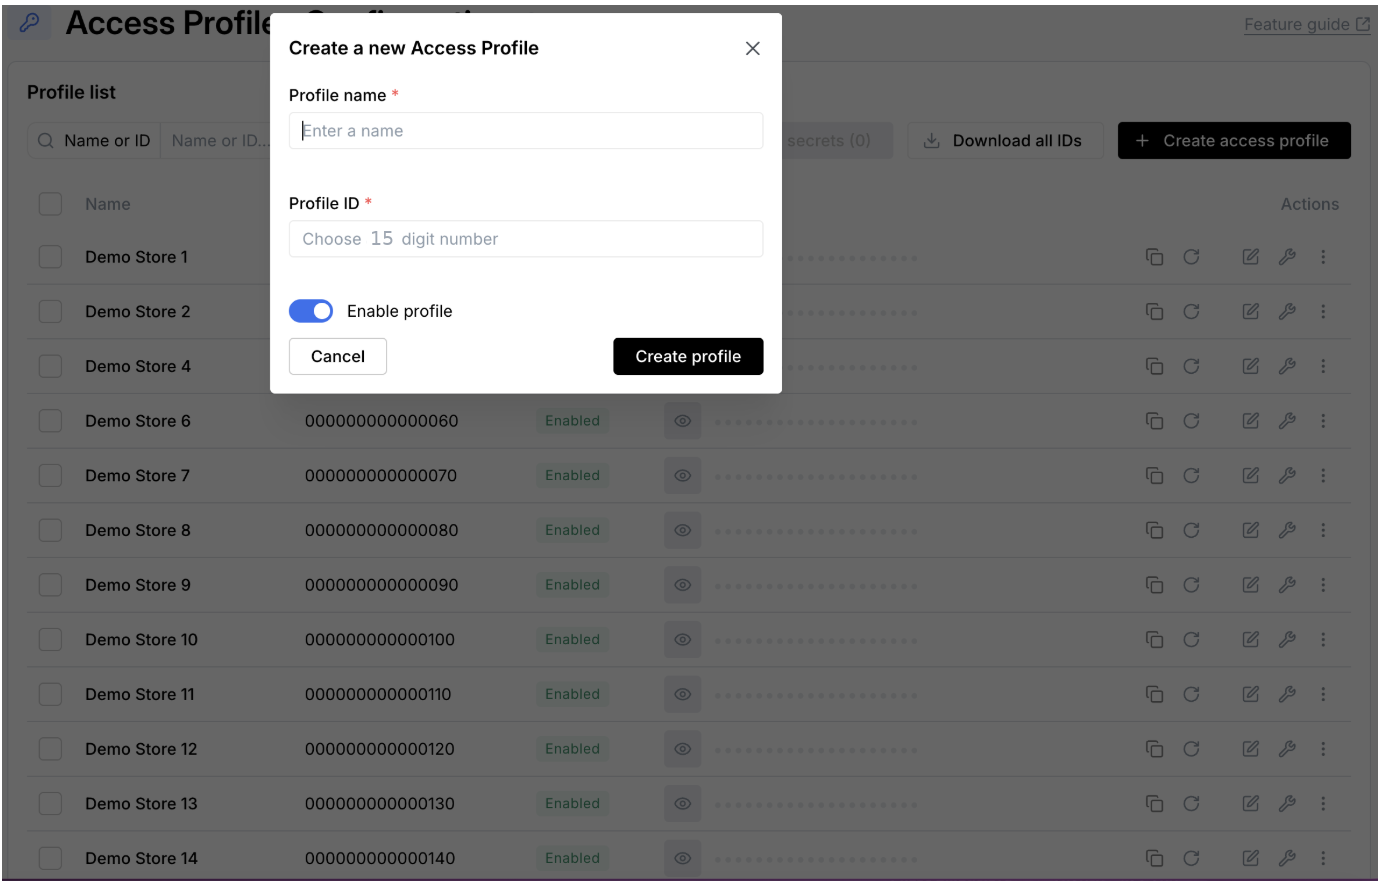
- Enter a profile name and ID. Check that the profile is enabled, then click Create profile.
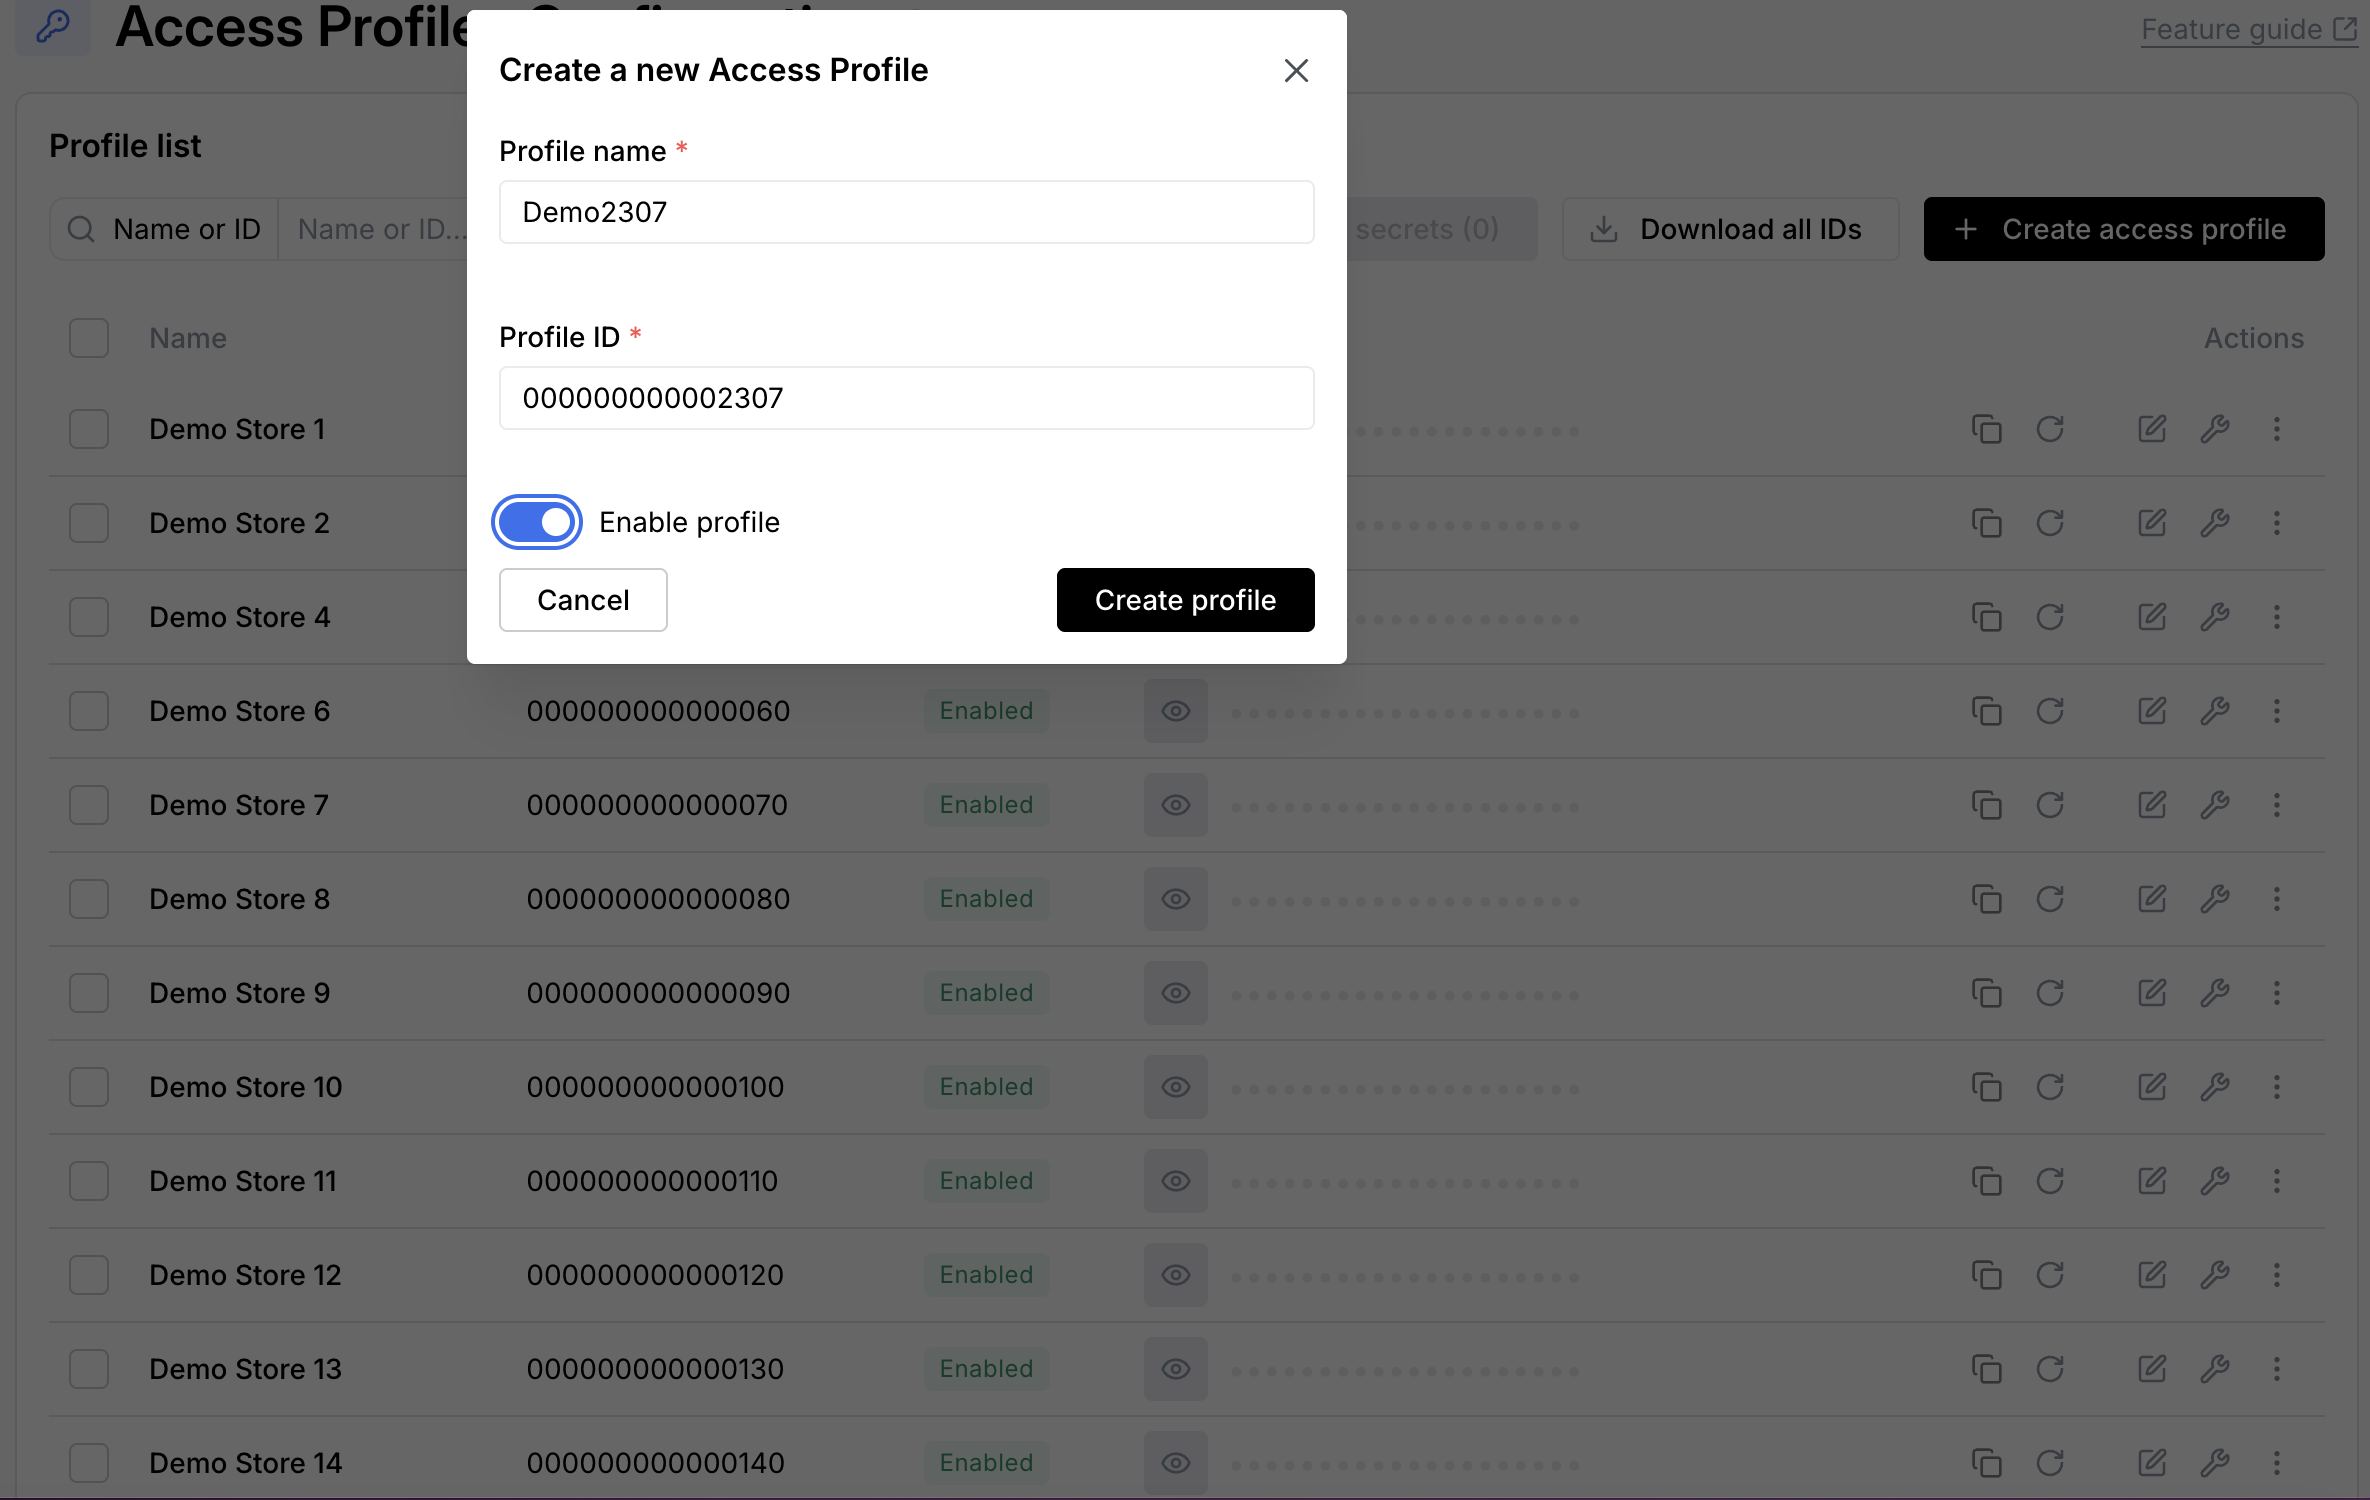
The ID must always be 15 digits long. If your files contain IDs of less than 15 digits, then add leading zeros to make up a total of 15 digits.
For example if your file contains a profile ID of 12345, then change it to 000000000012345.
- You will see a message at the bottom of the screen indicating that the profile was successfully added.
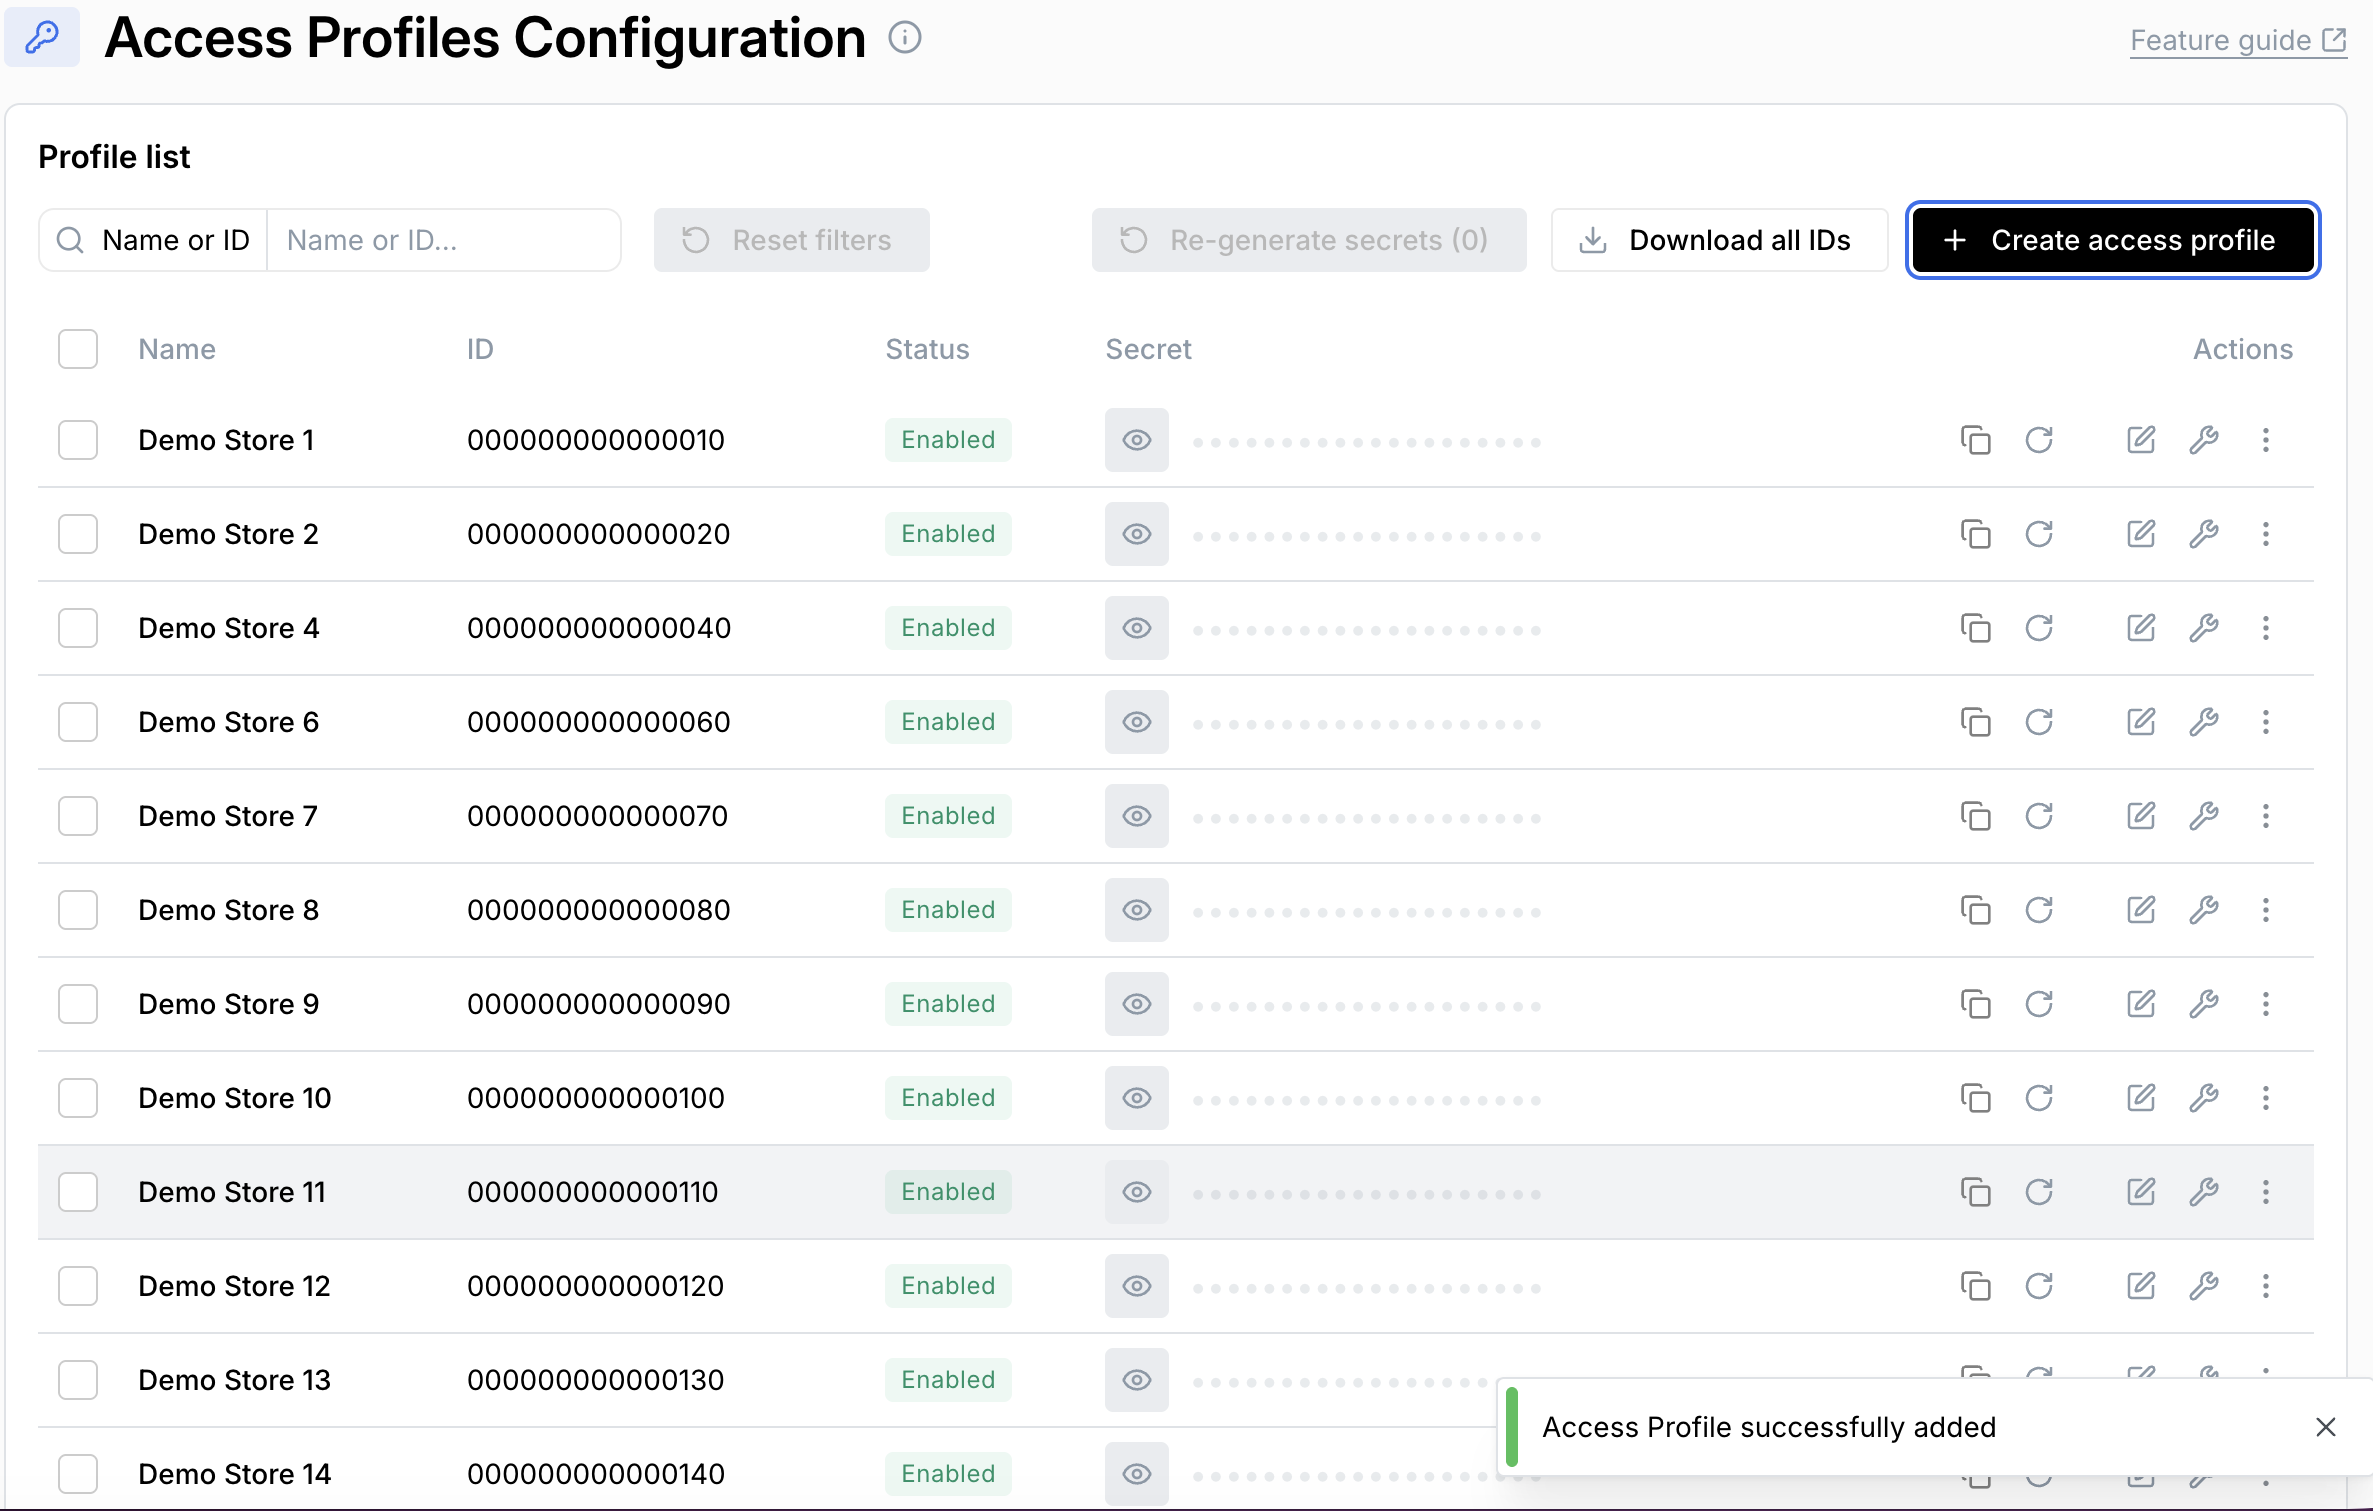
- The newly created profile will appear in the list of access profiles (bottom of the list in the image below).
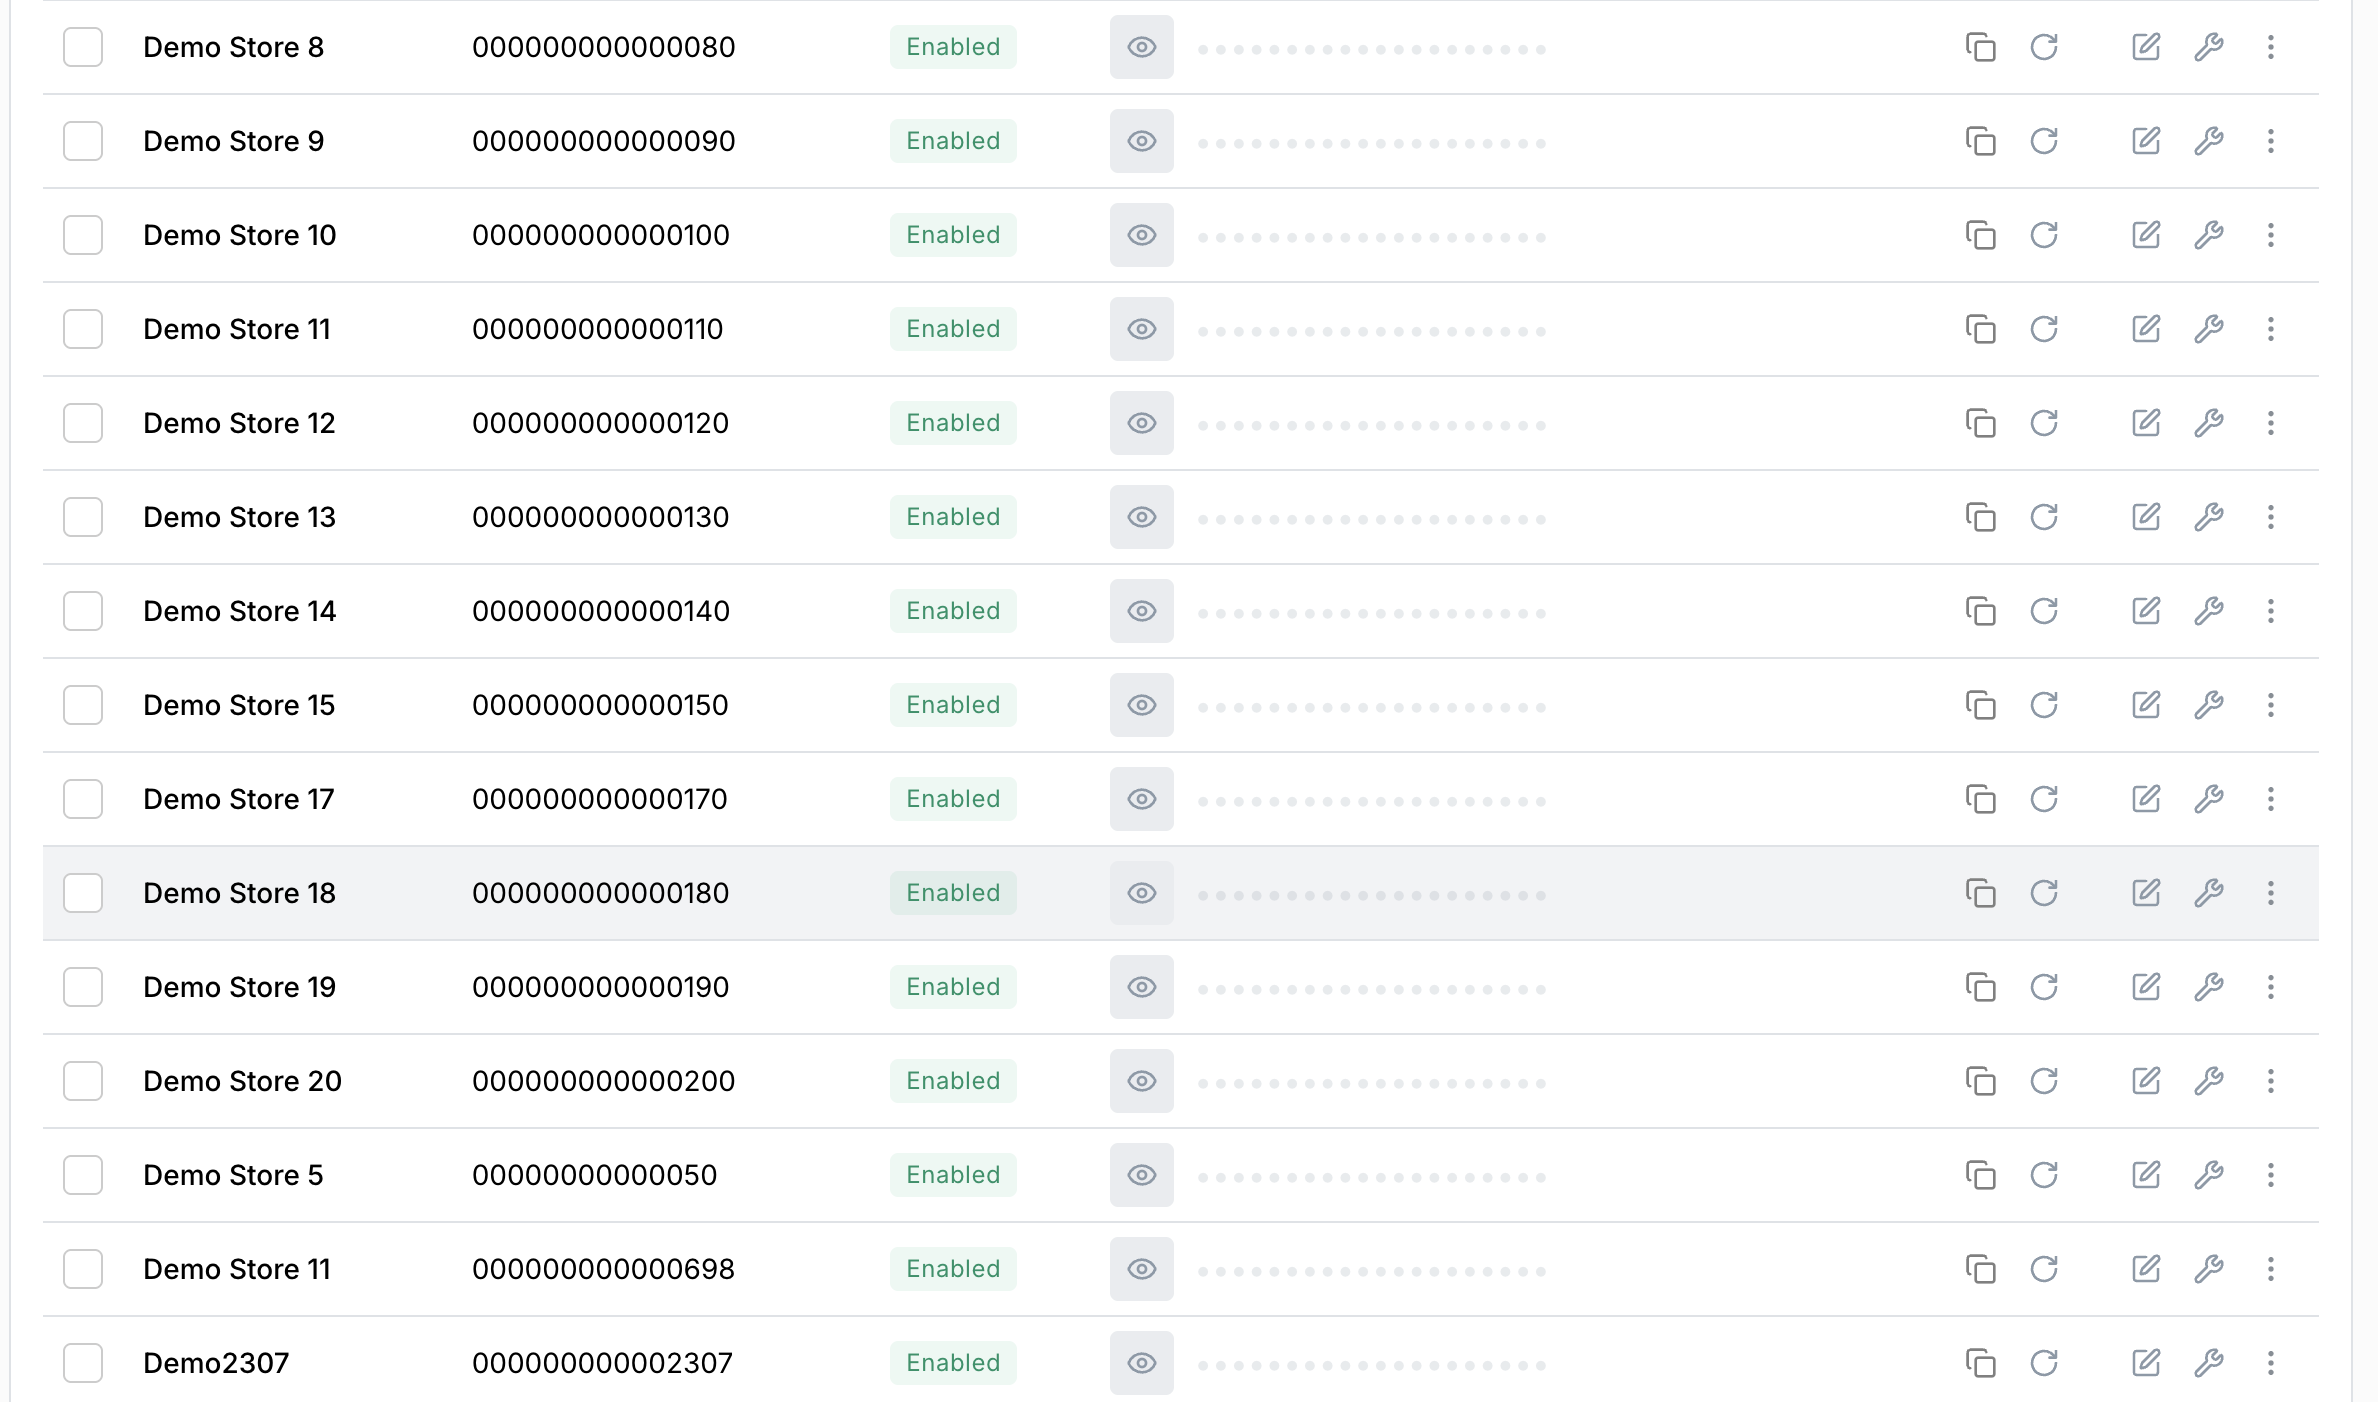
By default, a newly created access profile will not have any VAS services selected for it.
You must configure the profile to be active for the relevant services. See the Manage services section further down this page.
Edit an access profile
- You can edit an access profile in one of two ways:
Either click on the three dots at the end of the profile row, and select 'Edit access profile'.
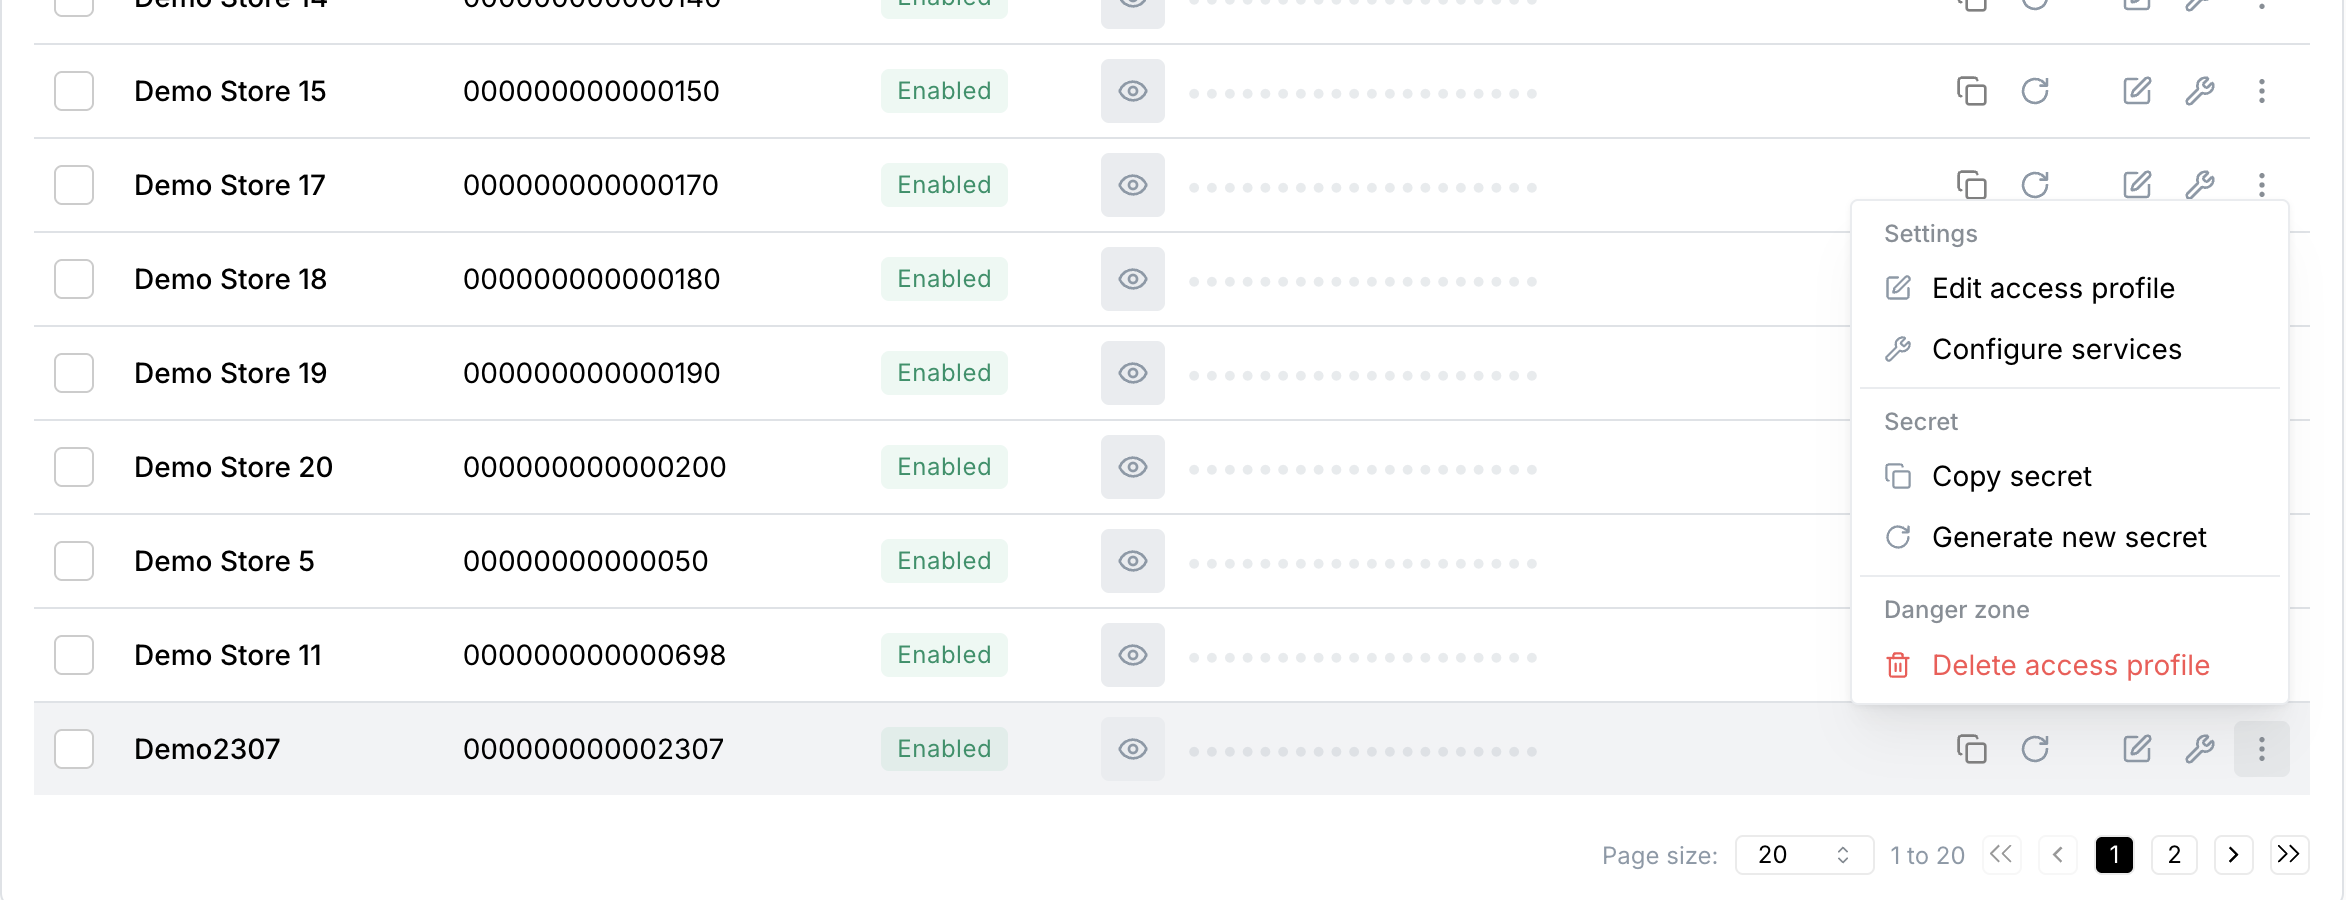
Or, click the edit icon in the profile row.

- The following modal will pop up. Edit the store as required:
- Edit the profile name or ID.
- Disable the profile (or enable a store that was previously disabled).
If a profile is 'enabled' it means that it is active and allowed to trade.
If a profile is disabled, then it means the profile is inactive. The channel (e.g., a retailer POS) will not receive valid secrets, so transactions cannot be processed for that channel. You may wish to disable a channel when:
- It is offline or undergoing maintenance.
- It is decommissioned or not yet ready to trade.
- You need to restrict access due to security concerns.
Toggle the Enable profile button at the bottom of the modal to change a channels's state between enabled and disabled as required.
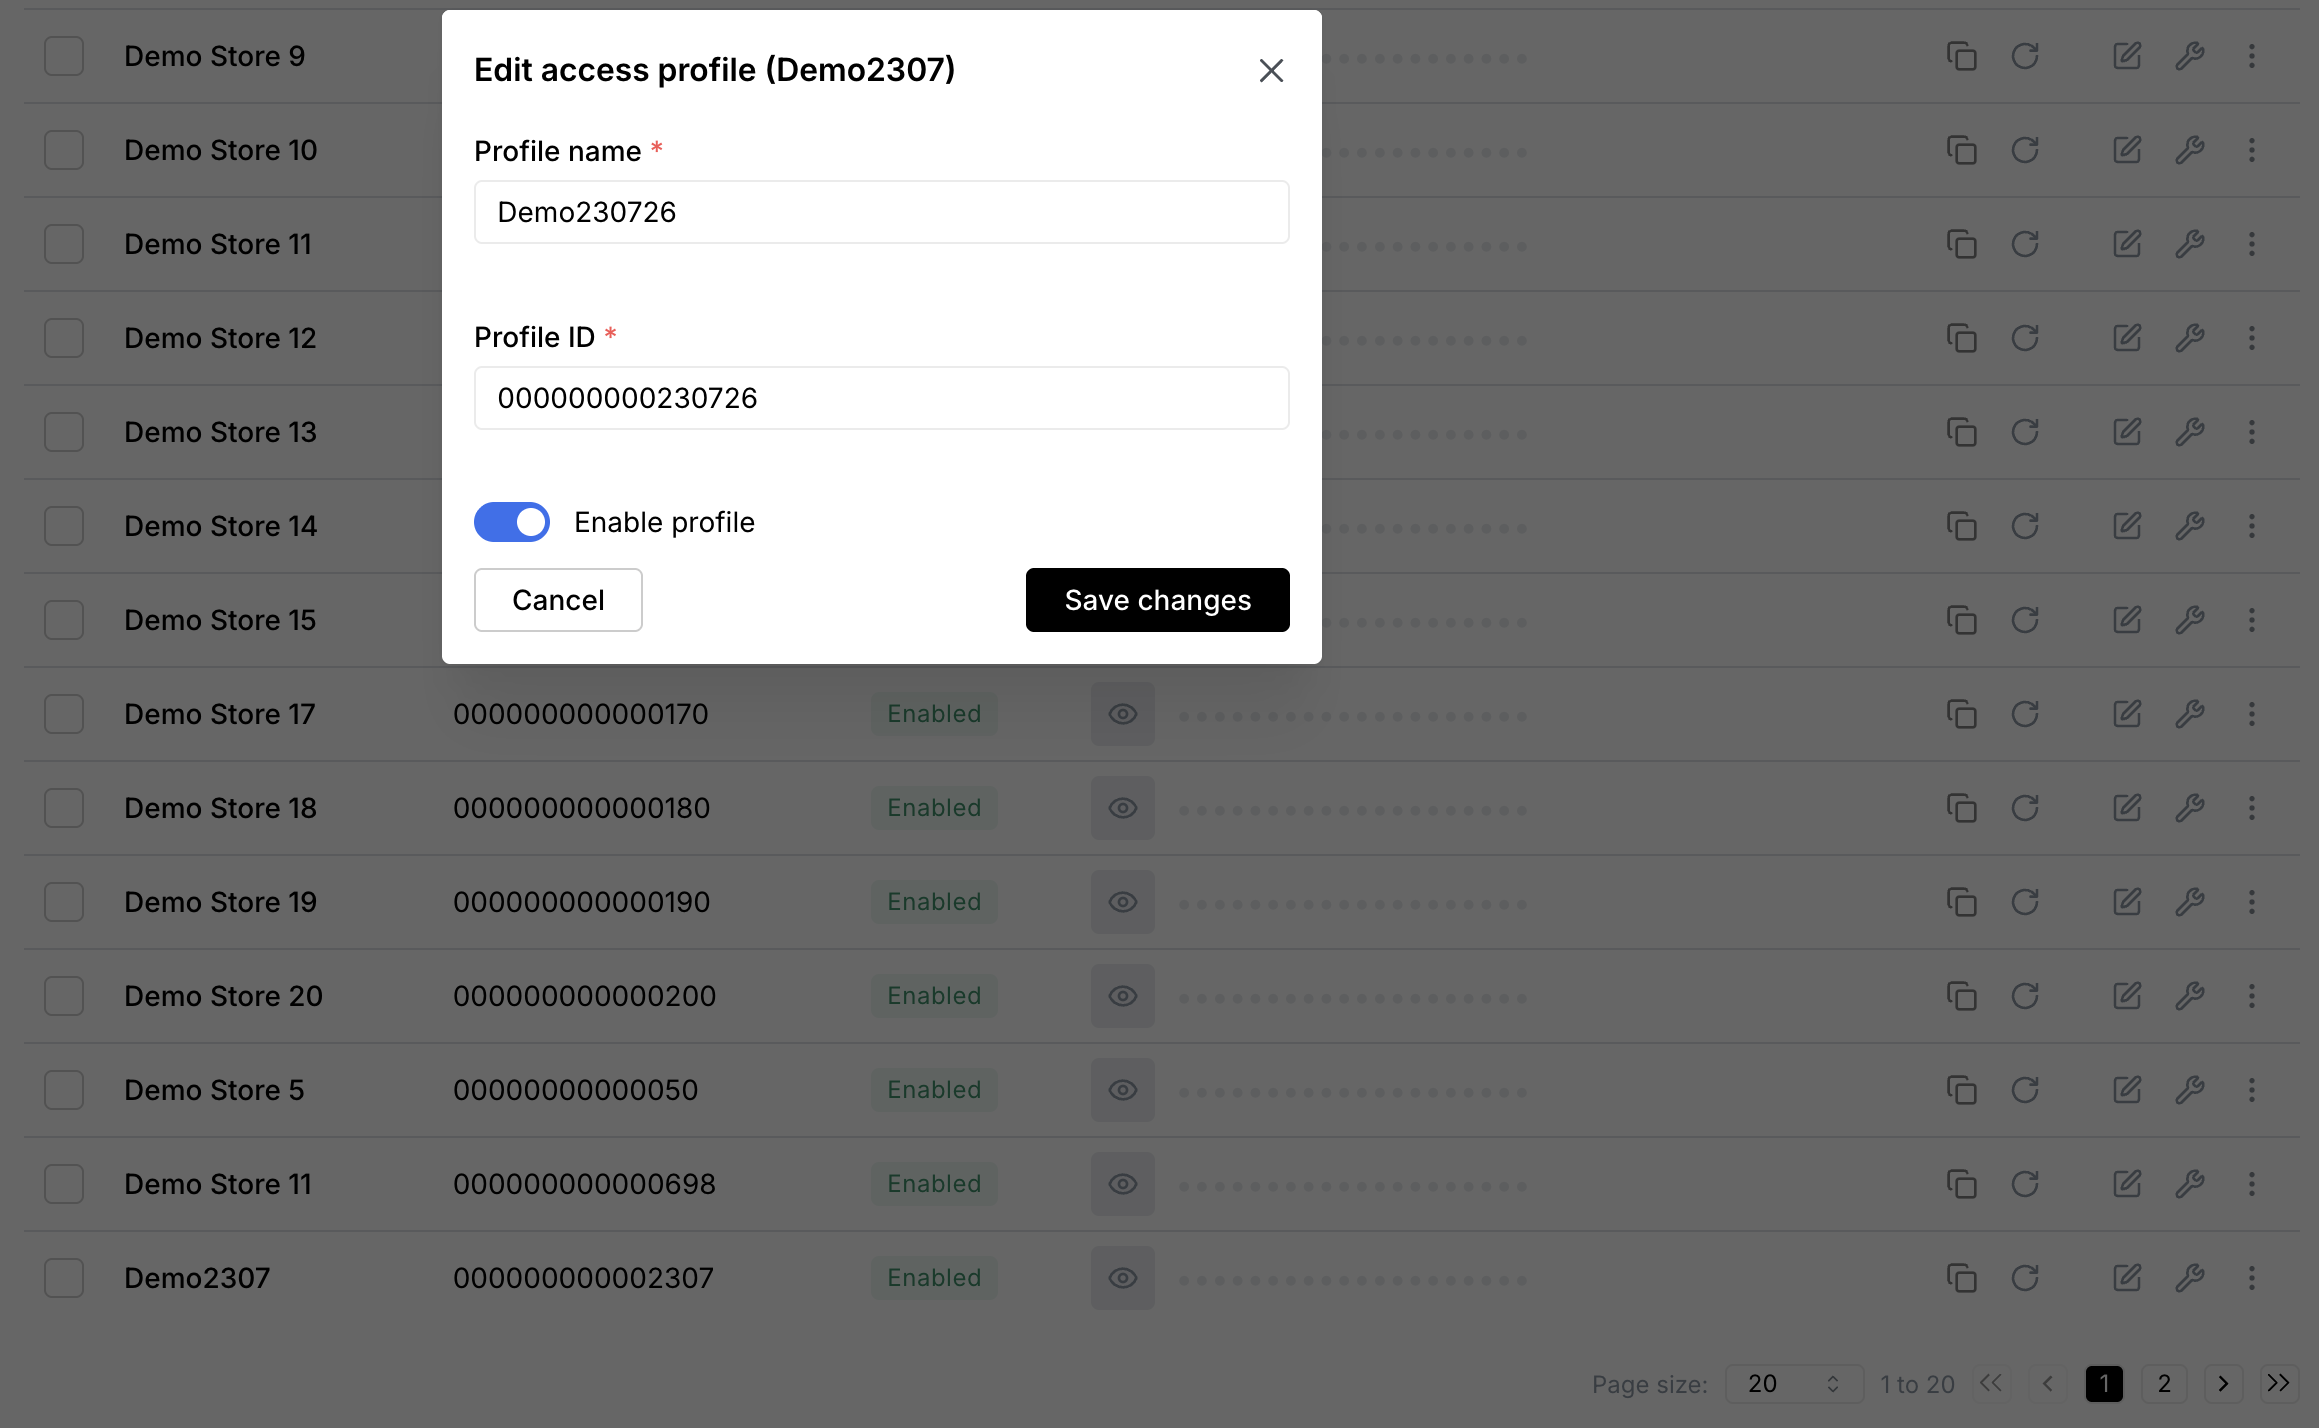
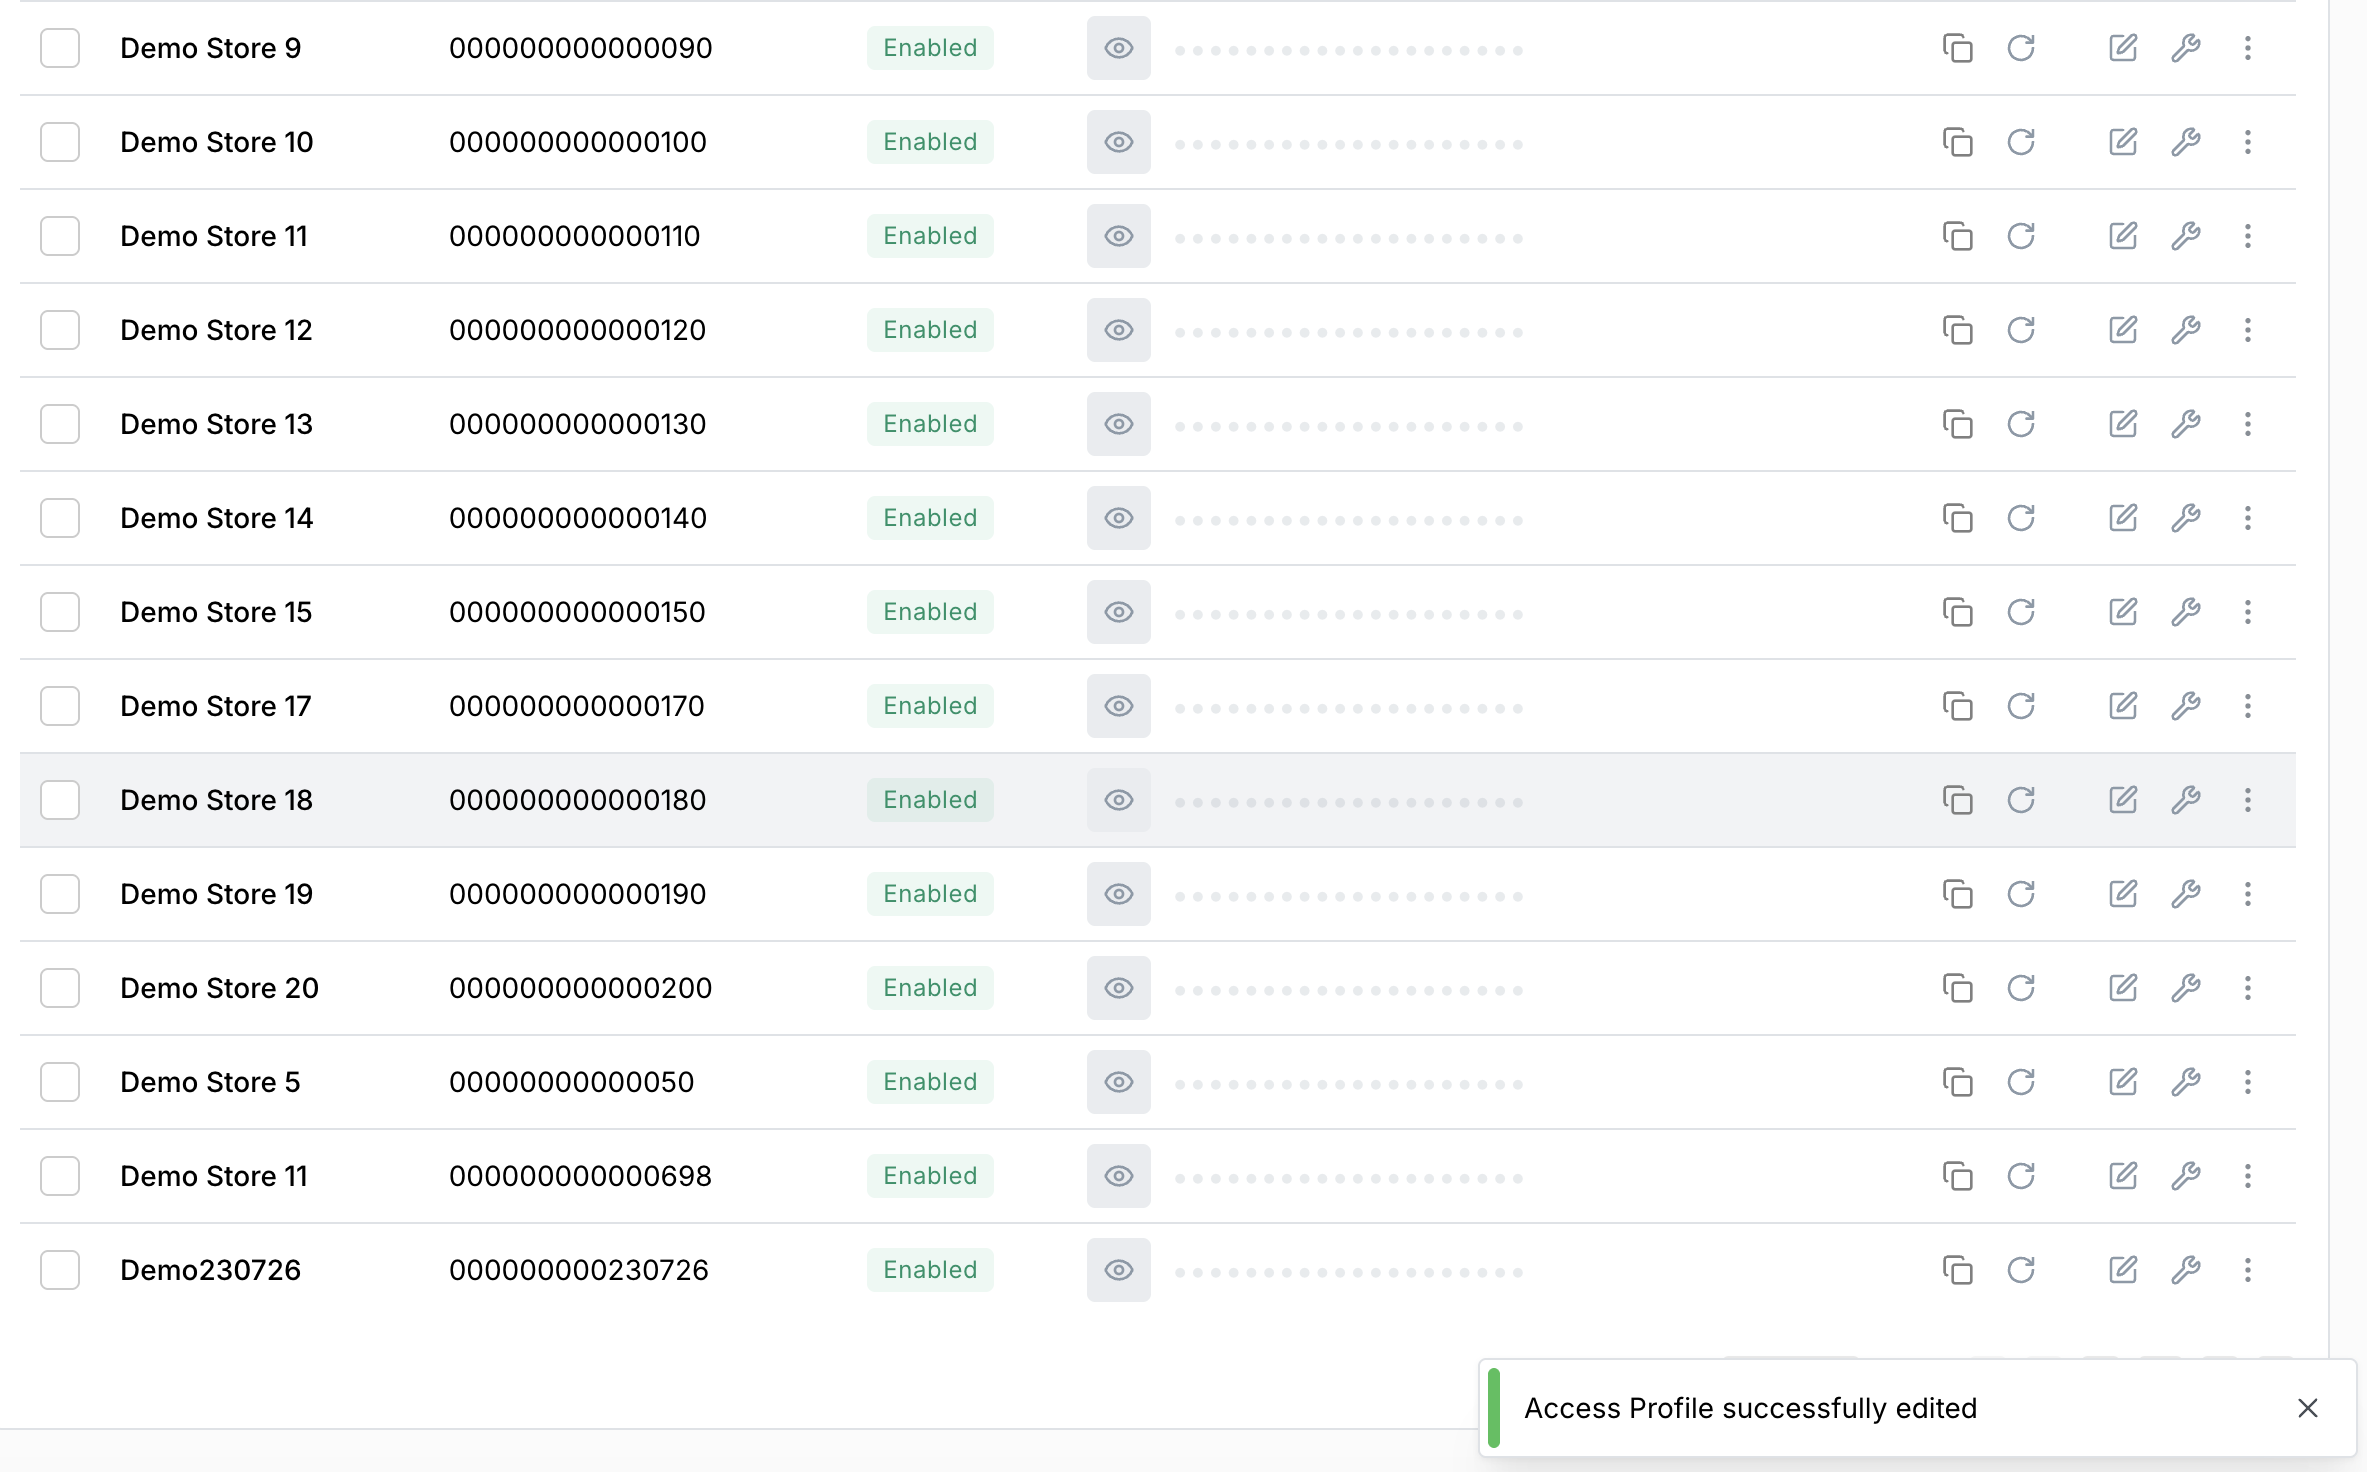
- Click Save changes. You will see a message at the bottom of the screen indicating that the profile was successfully edited.
Manage services
- You can configure the list of services enabled for a particular channel in one of two ways.
Either click on the three dots at the end of the profile row, and select 'Configure services'.
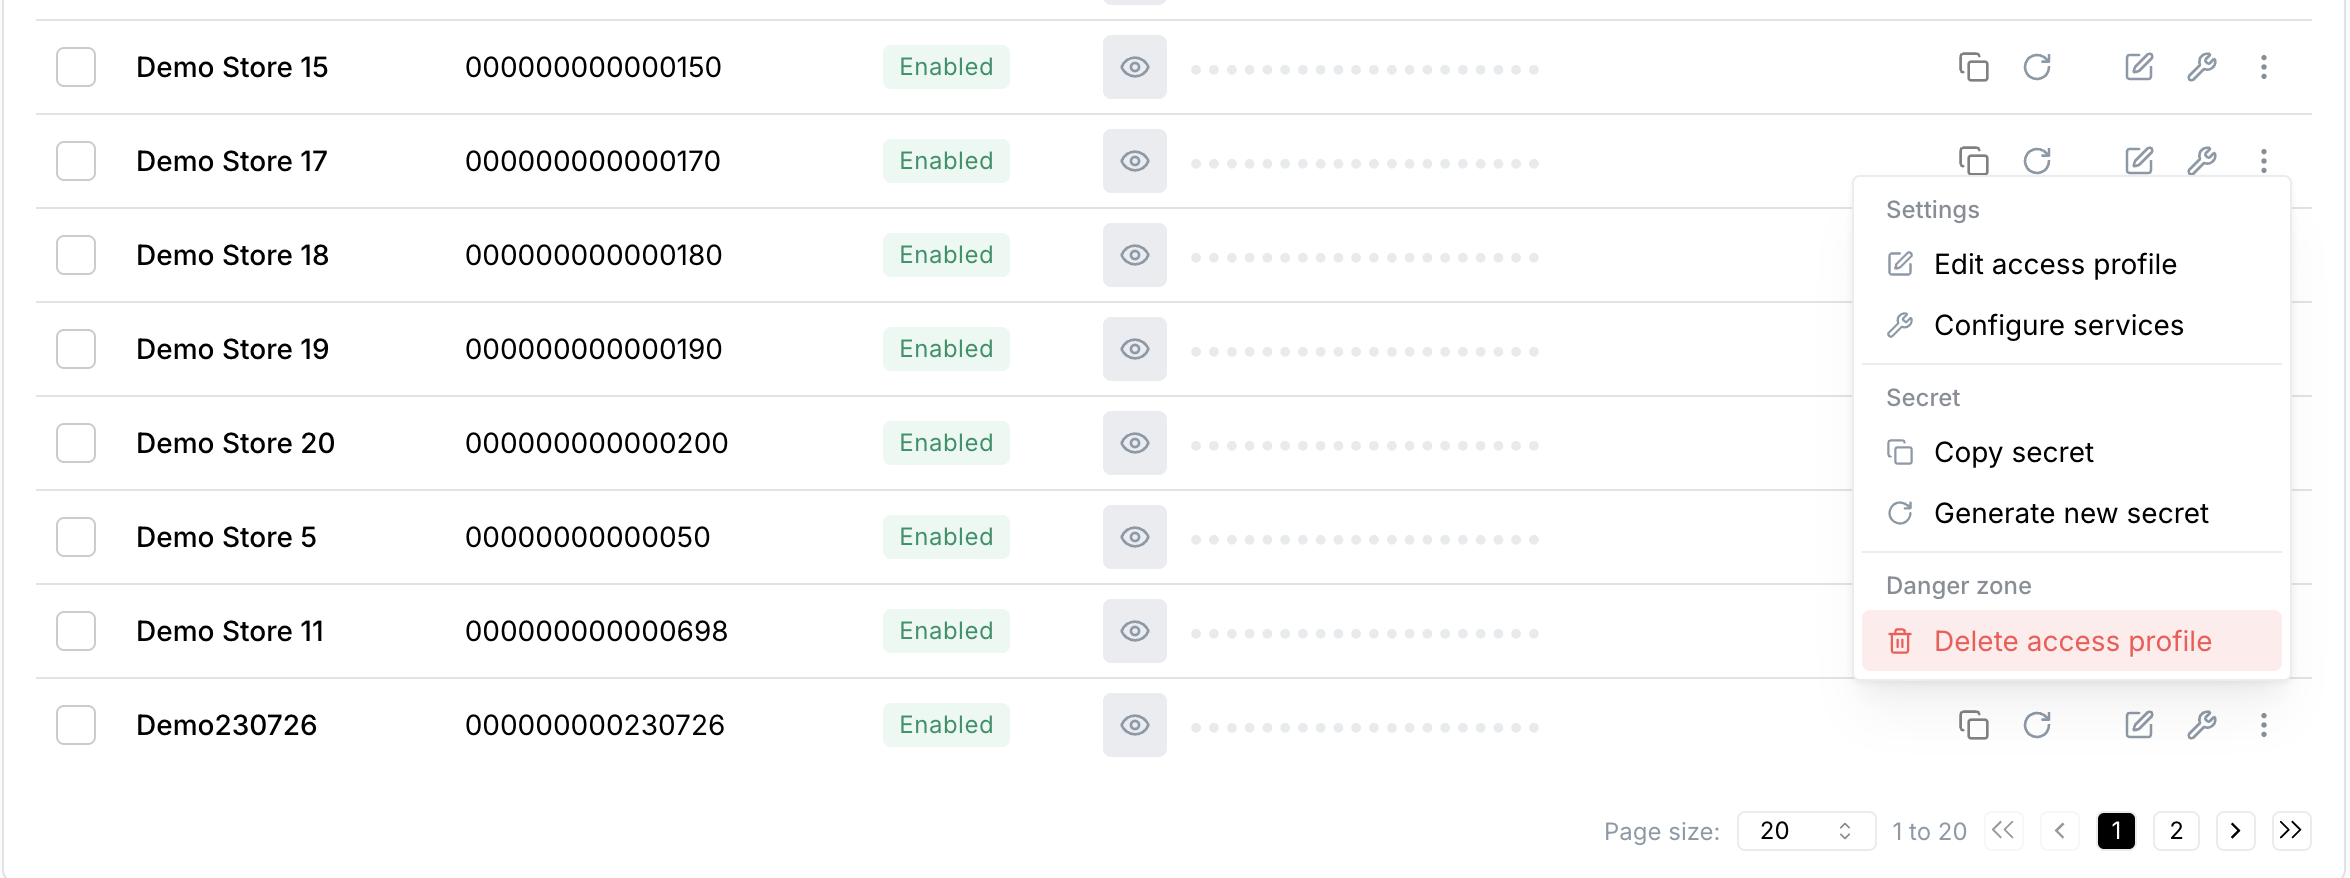
Or, click the wrench icon ('Manage services') in the profile row.

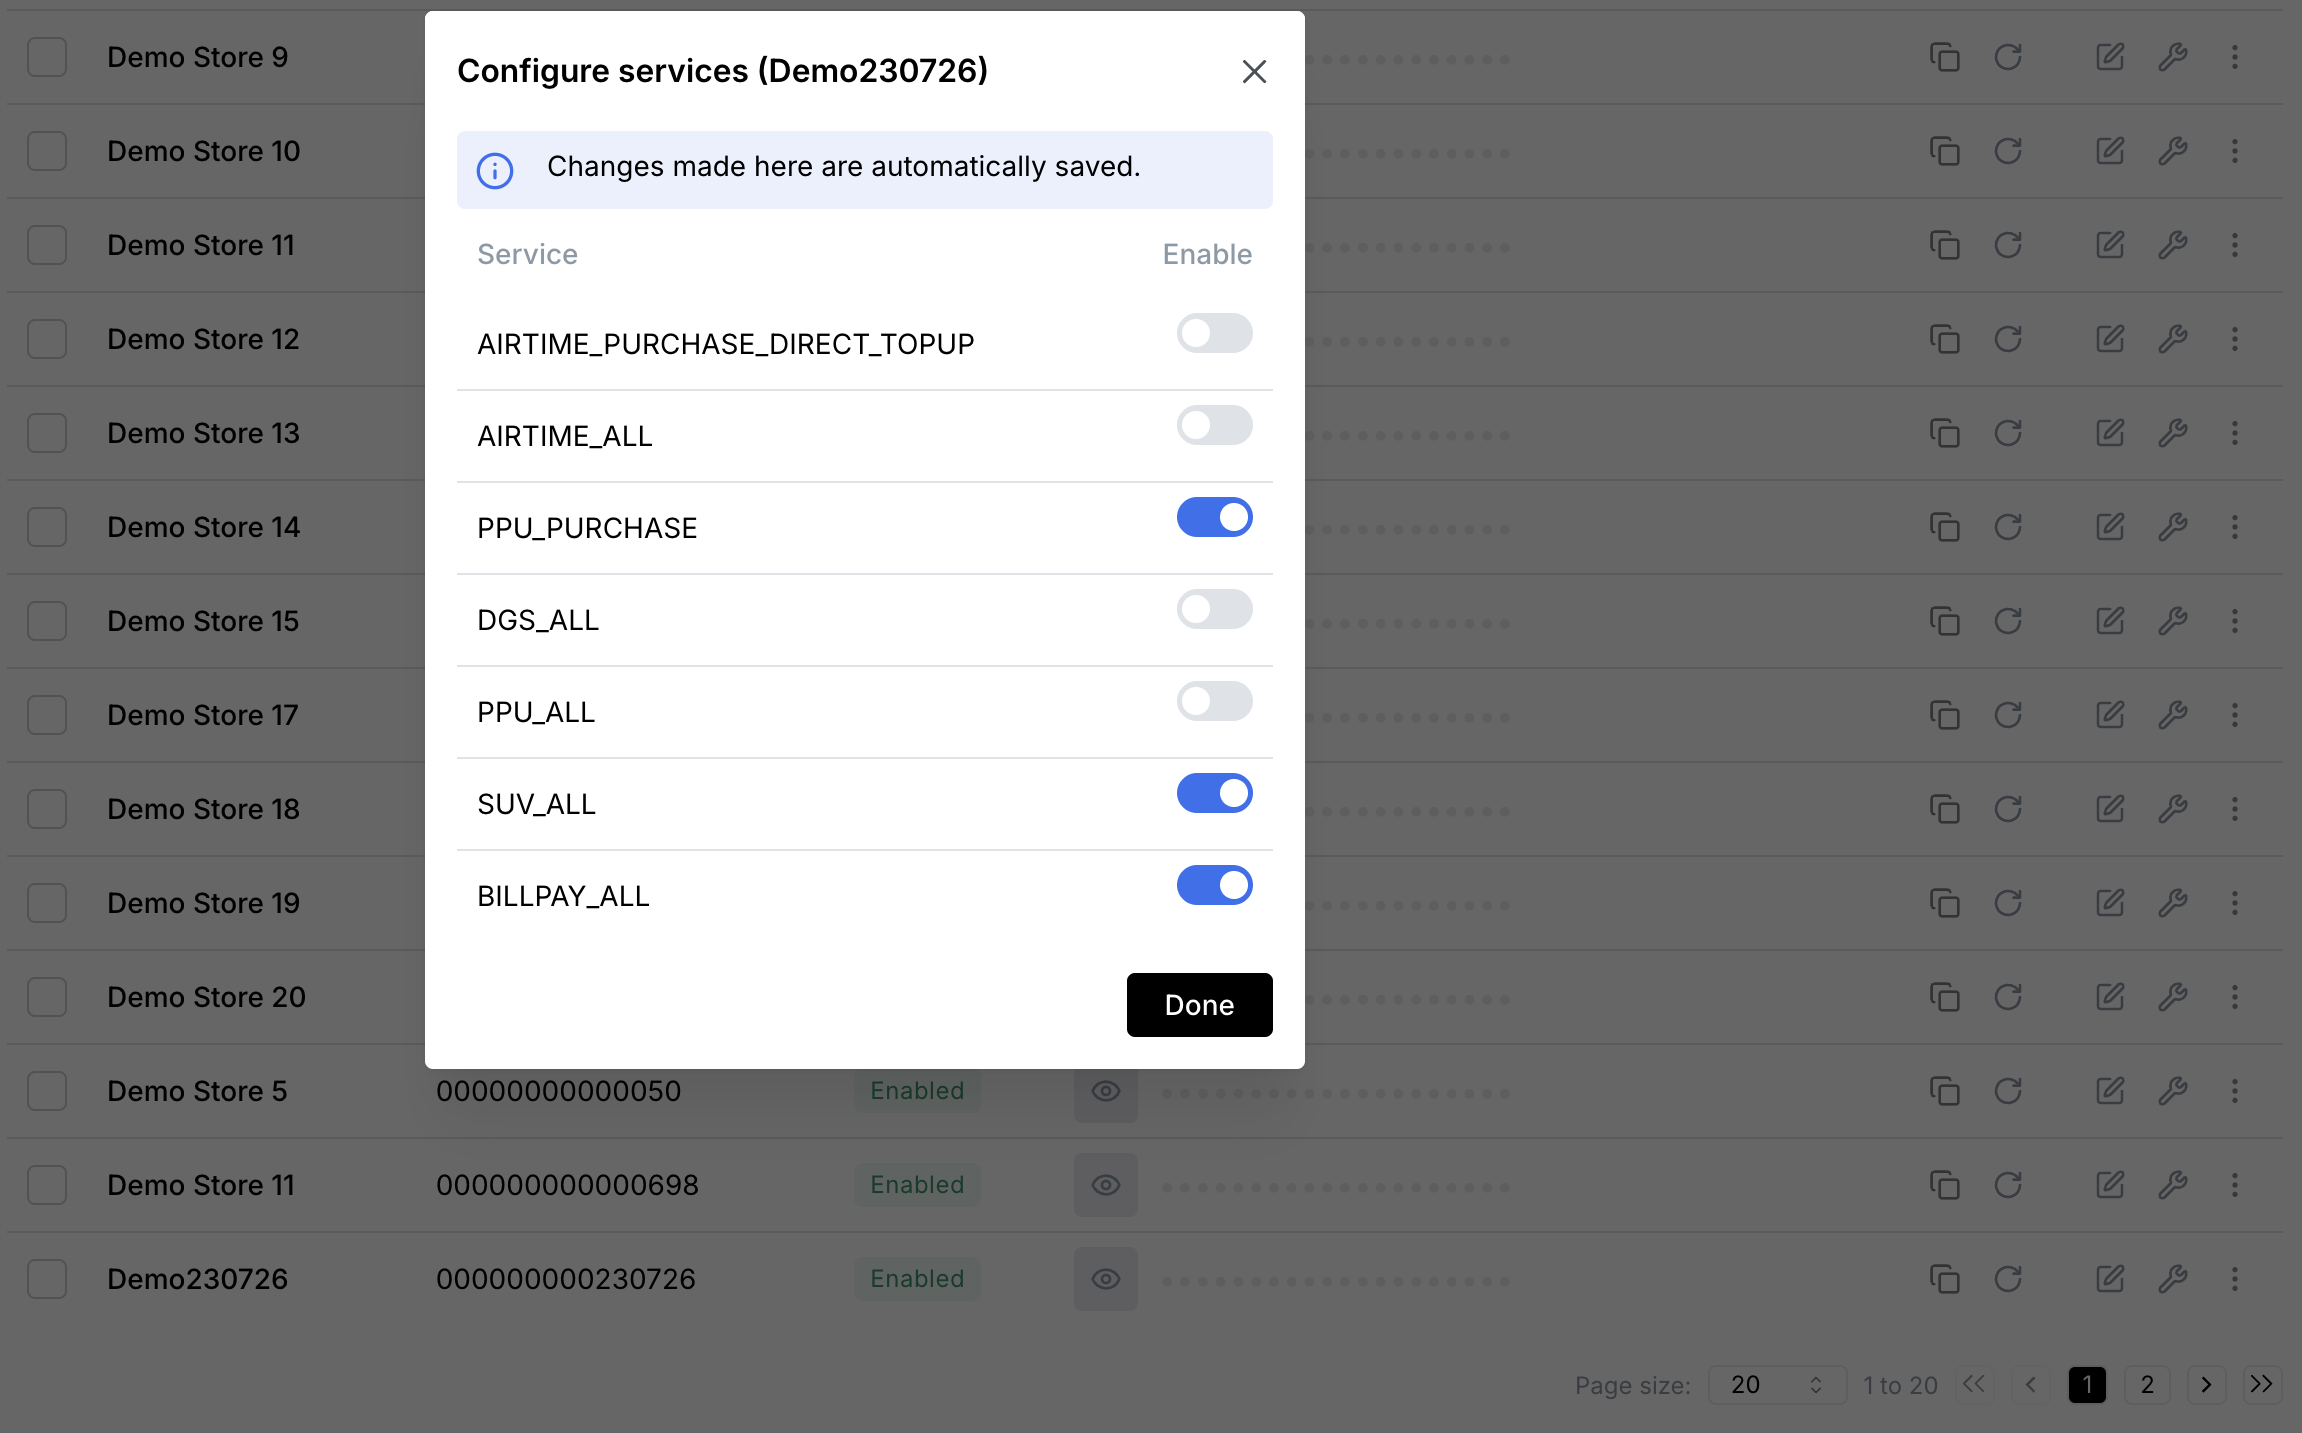
The following modal pops up.
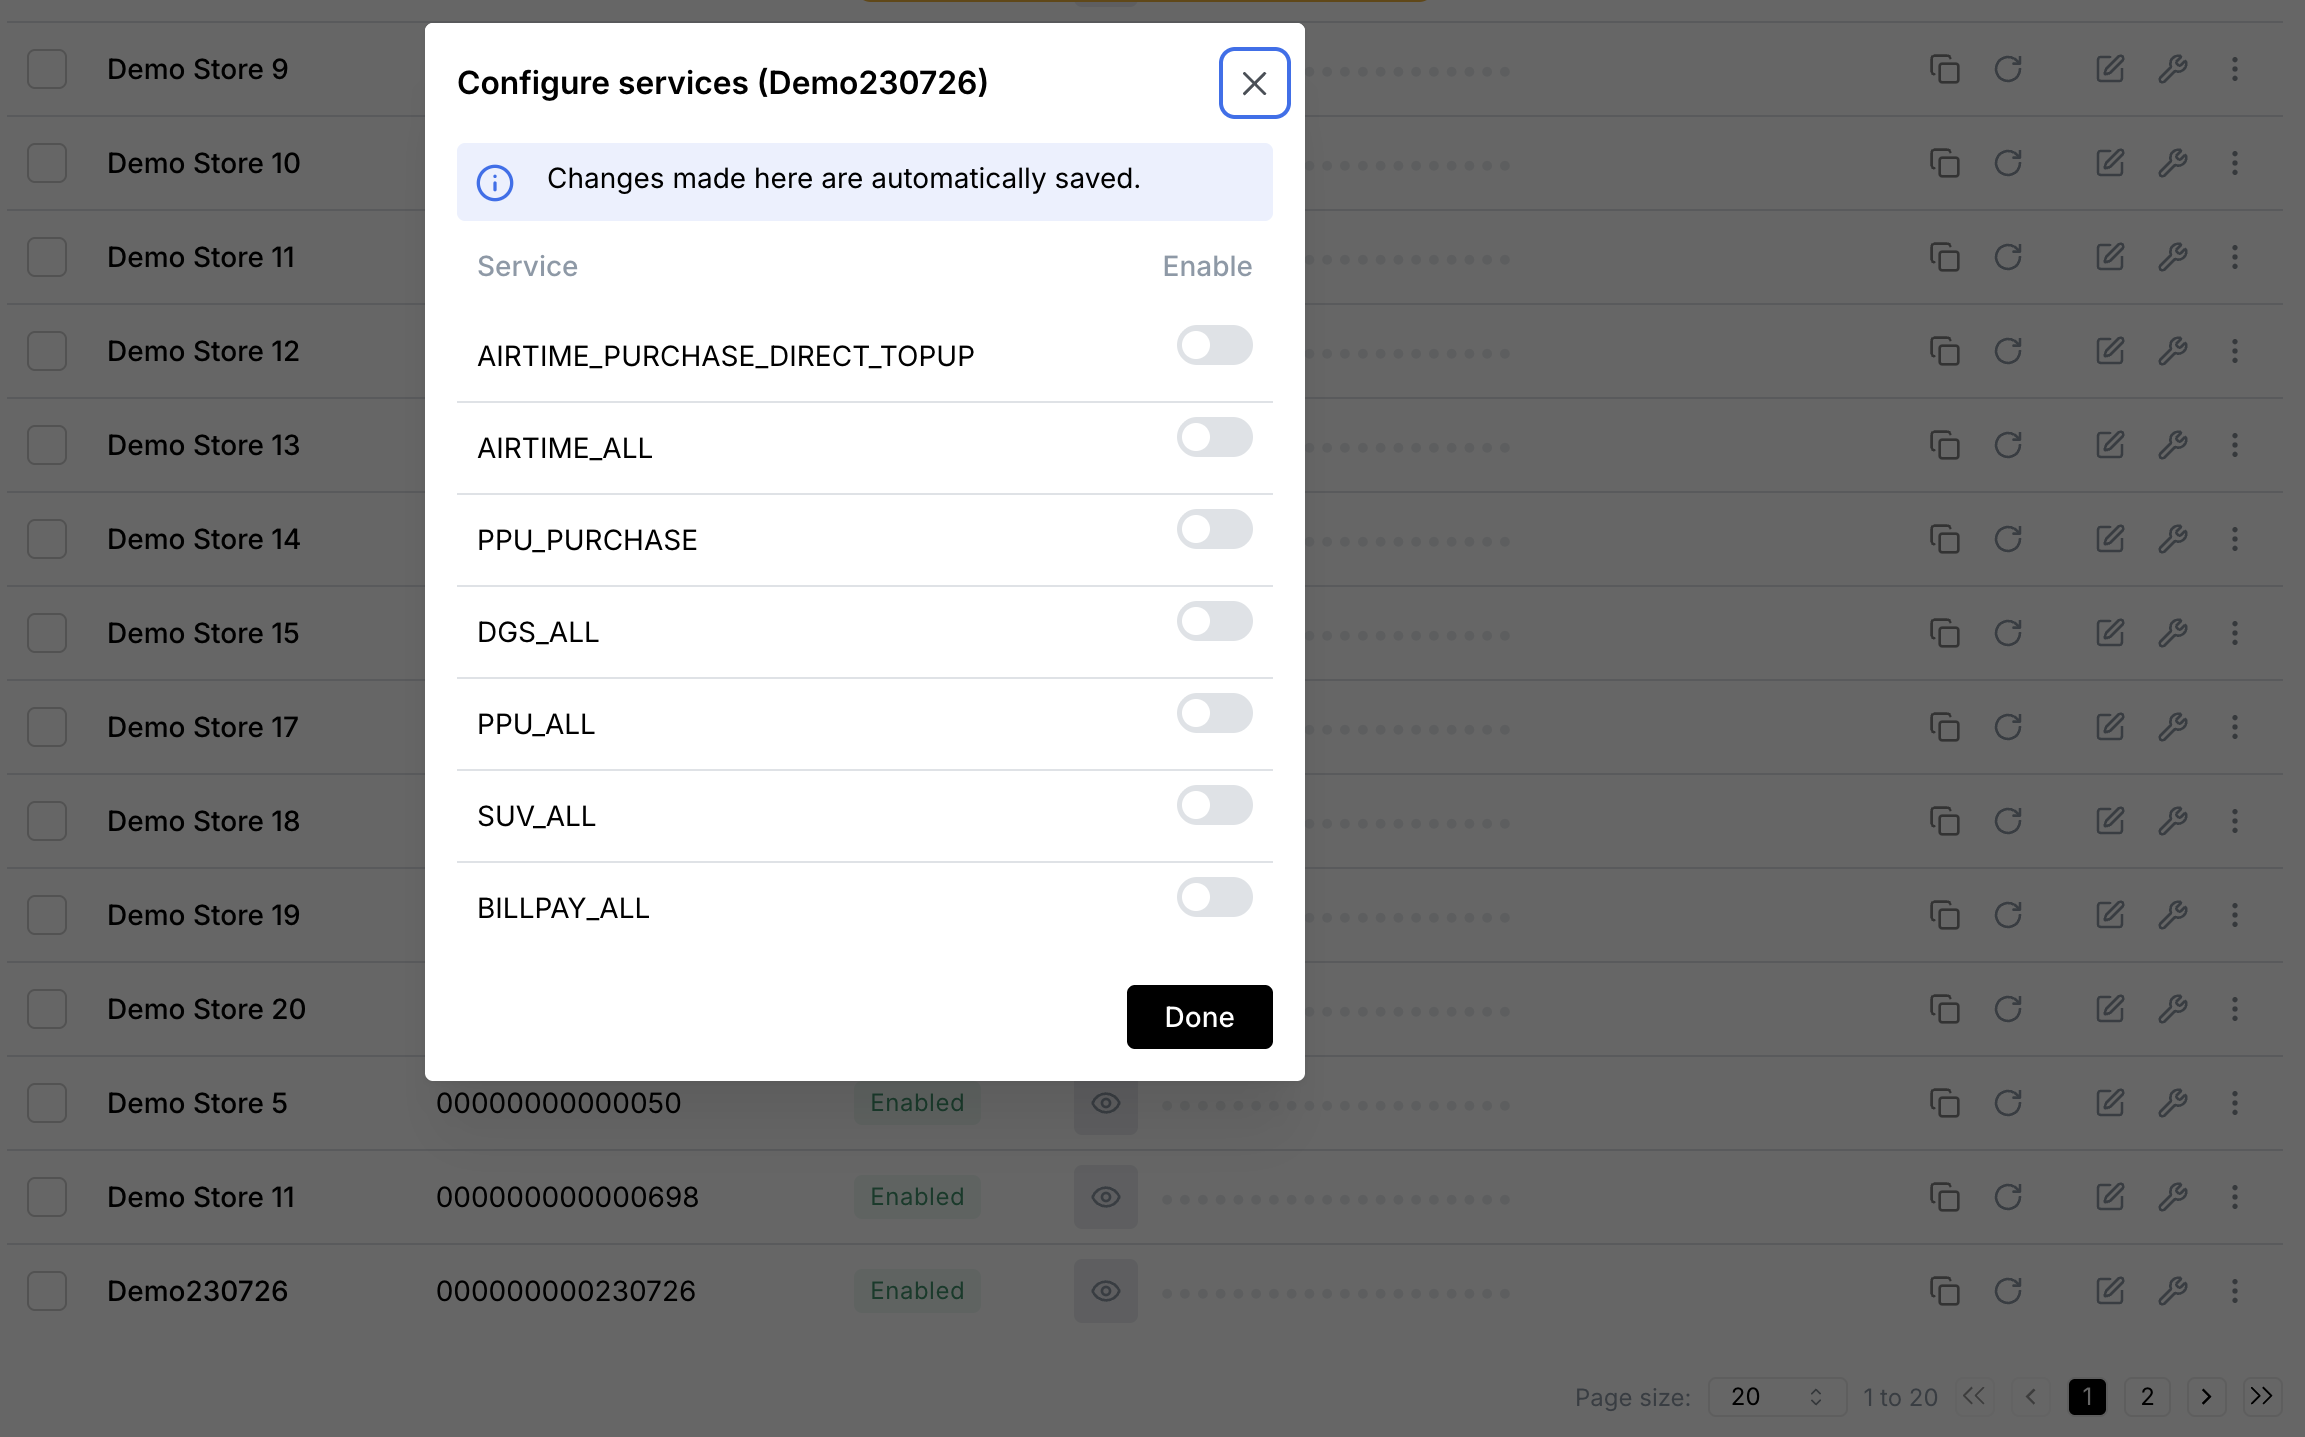
- Select the relevant services (or deselect ones you want to remove), then click Done.
Reveal secrets
- Click the eye icon in the profile row.

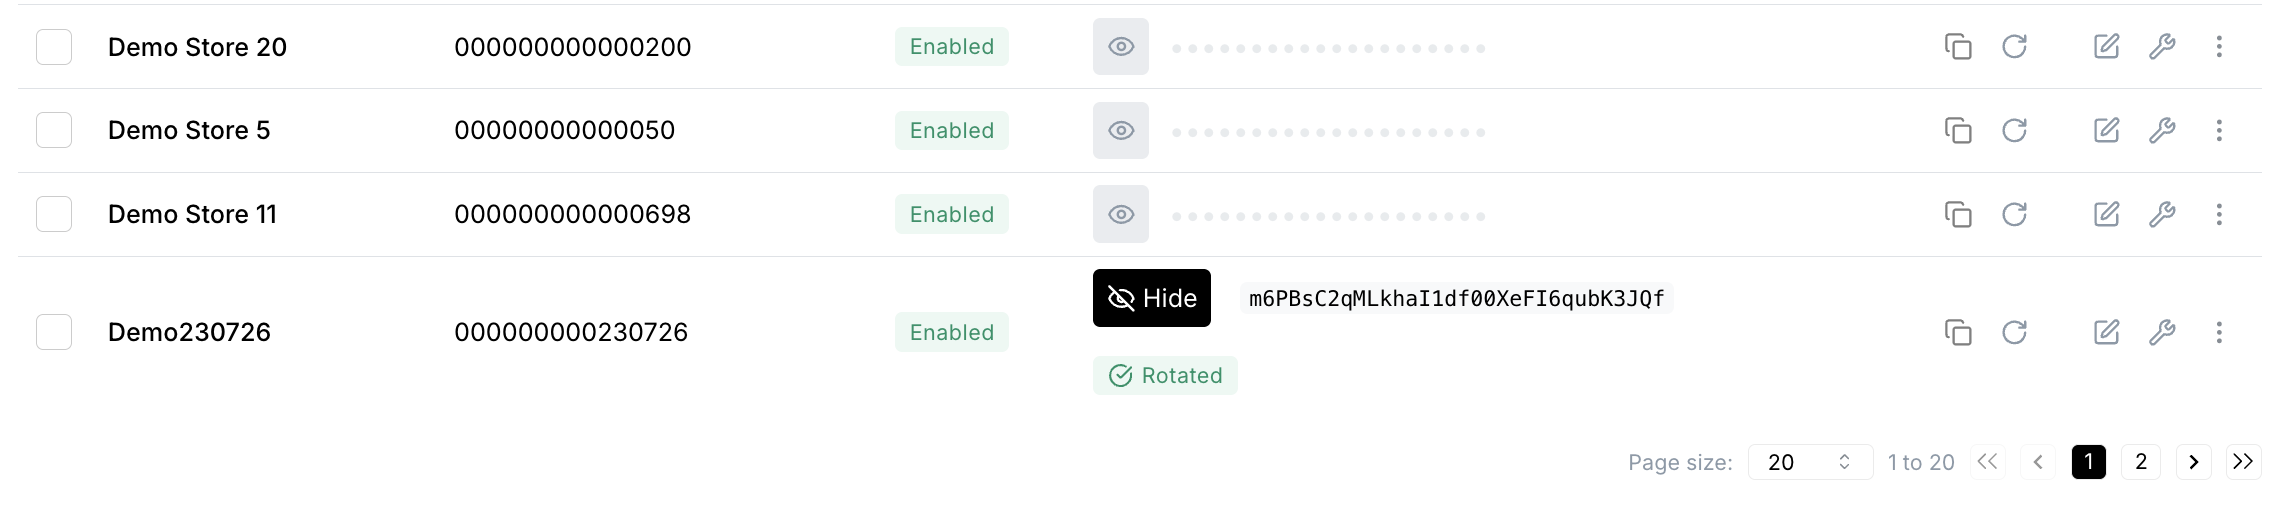
- You will see the secret. Hide the secret again by clicking Hide.

Re-generate secrets
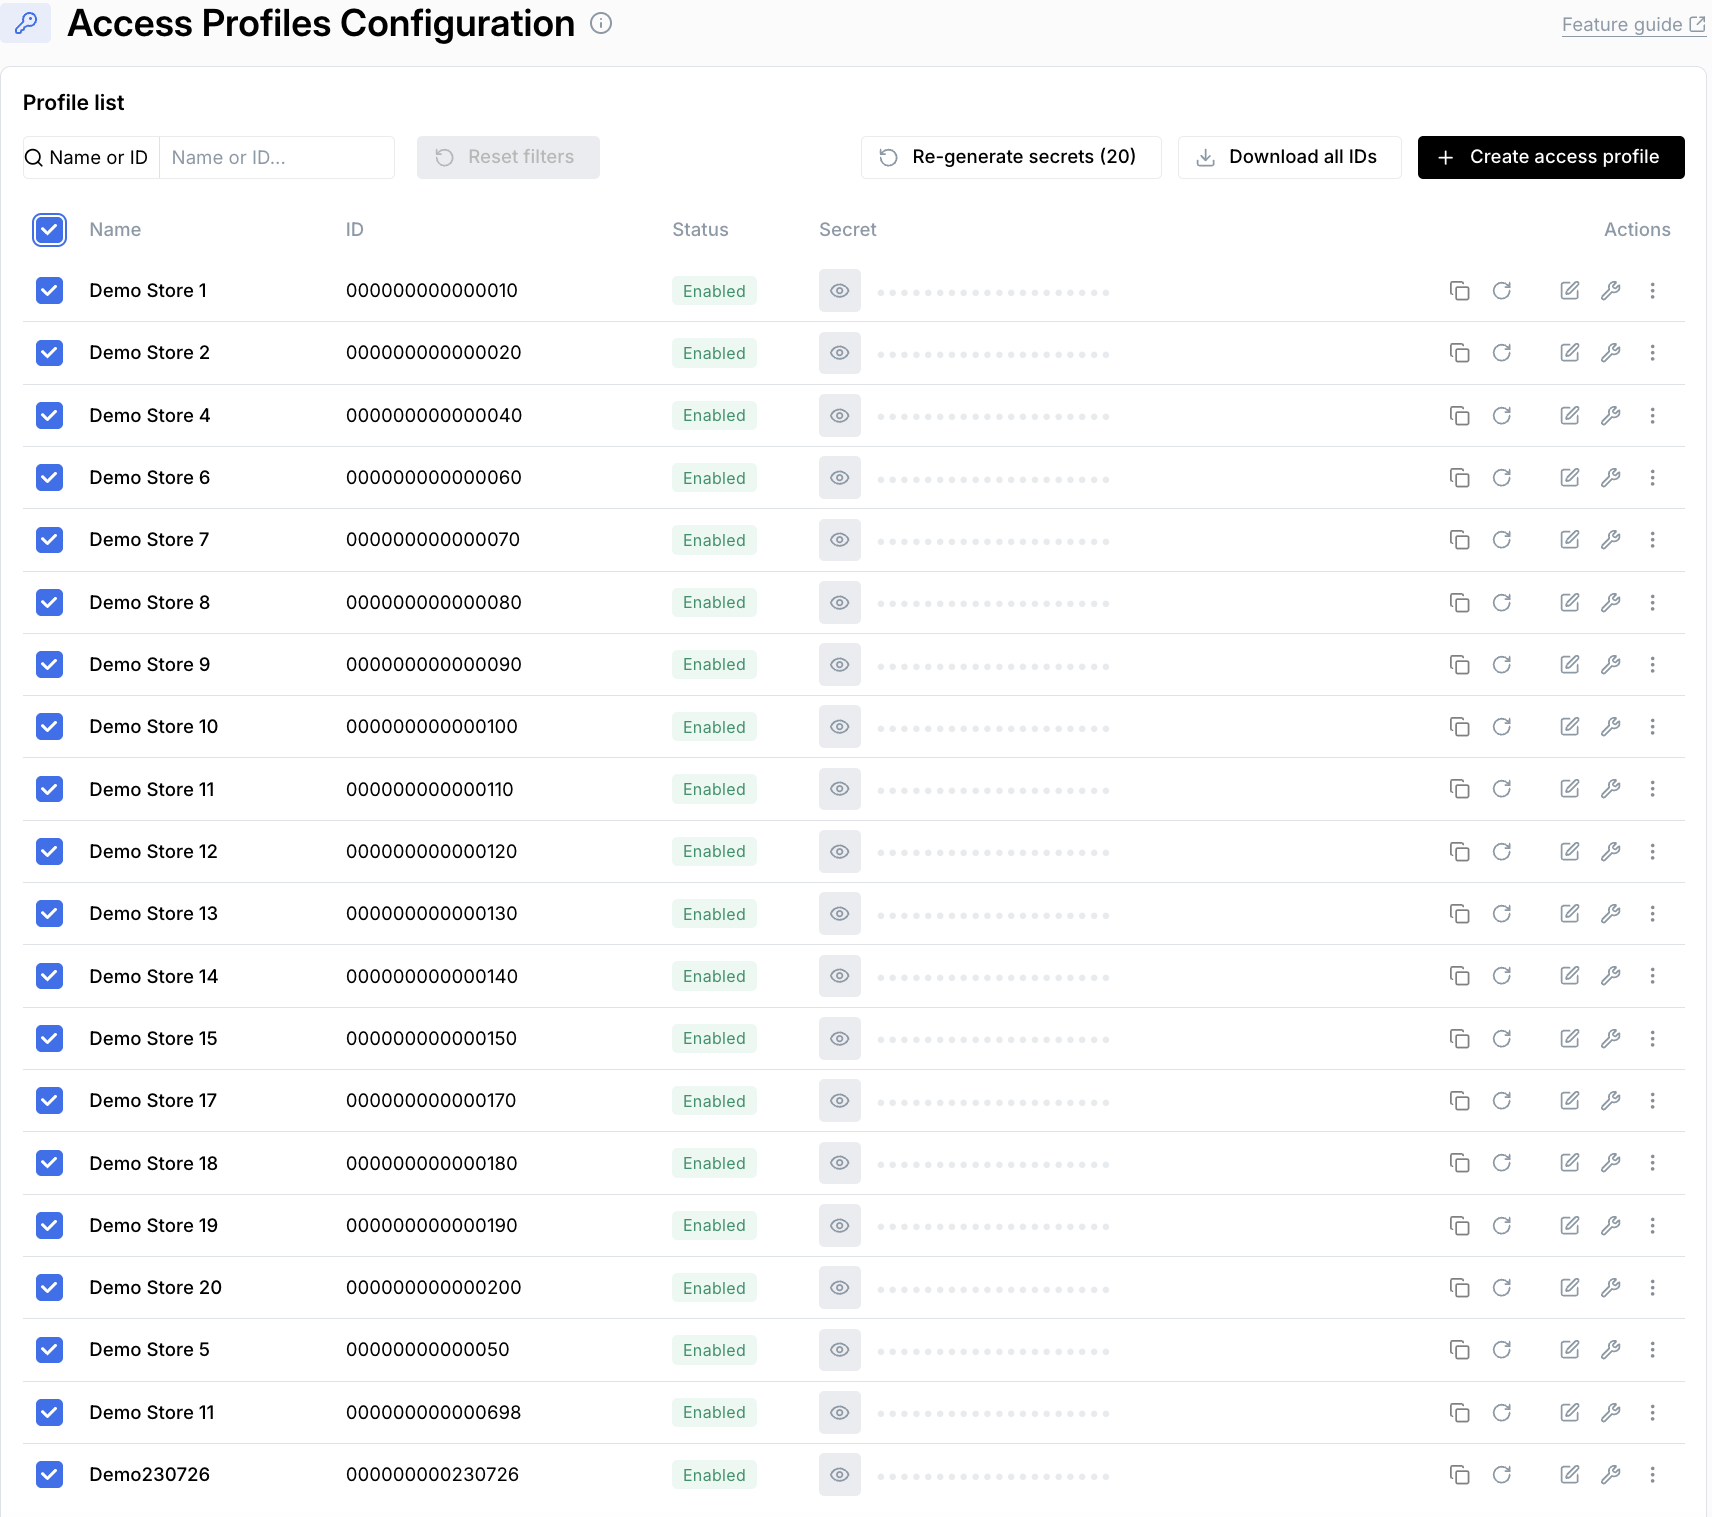
- If you wish to generate new secrets for one or more channels: select the channel(s) by clicking the tick box on the left-hand side of the profile row. Click the 'Re-generate secrets' button at the top of the page. (Note: the button will show in brackets the number of profiles you have selected.)
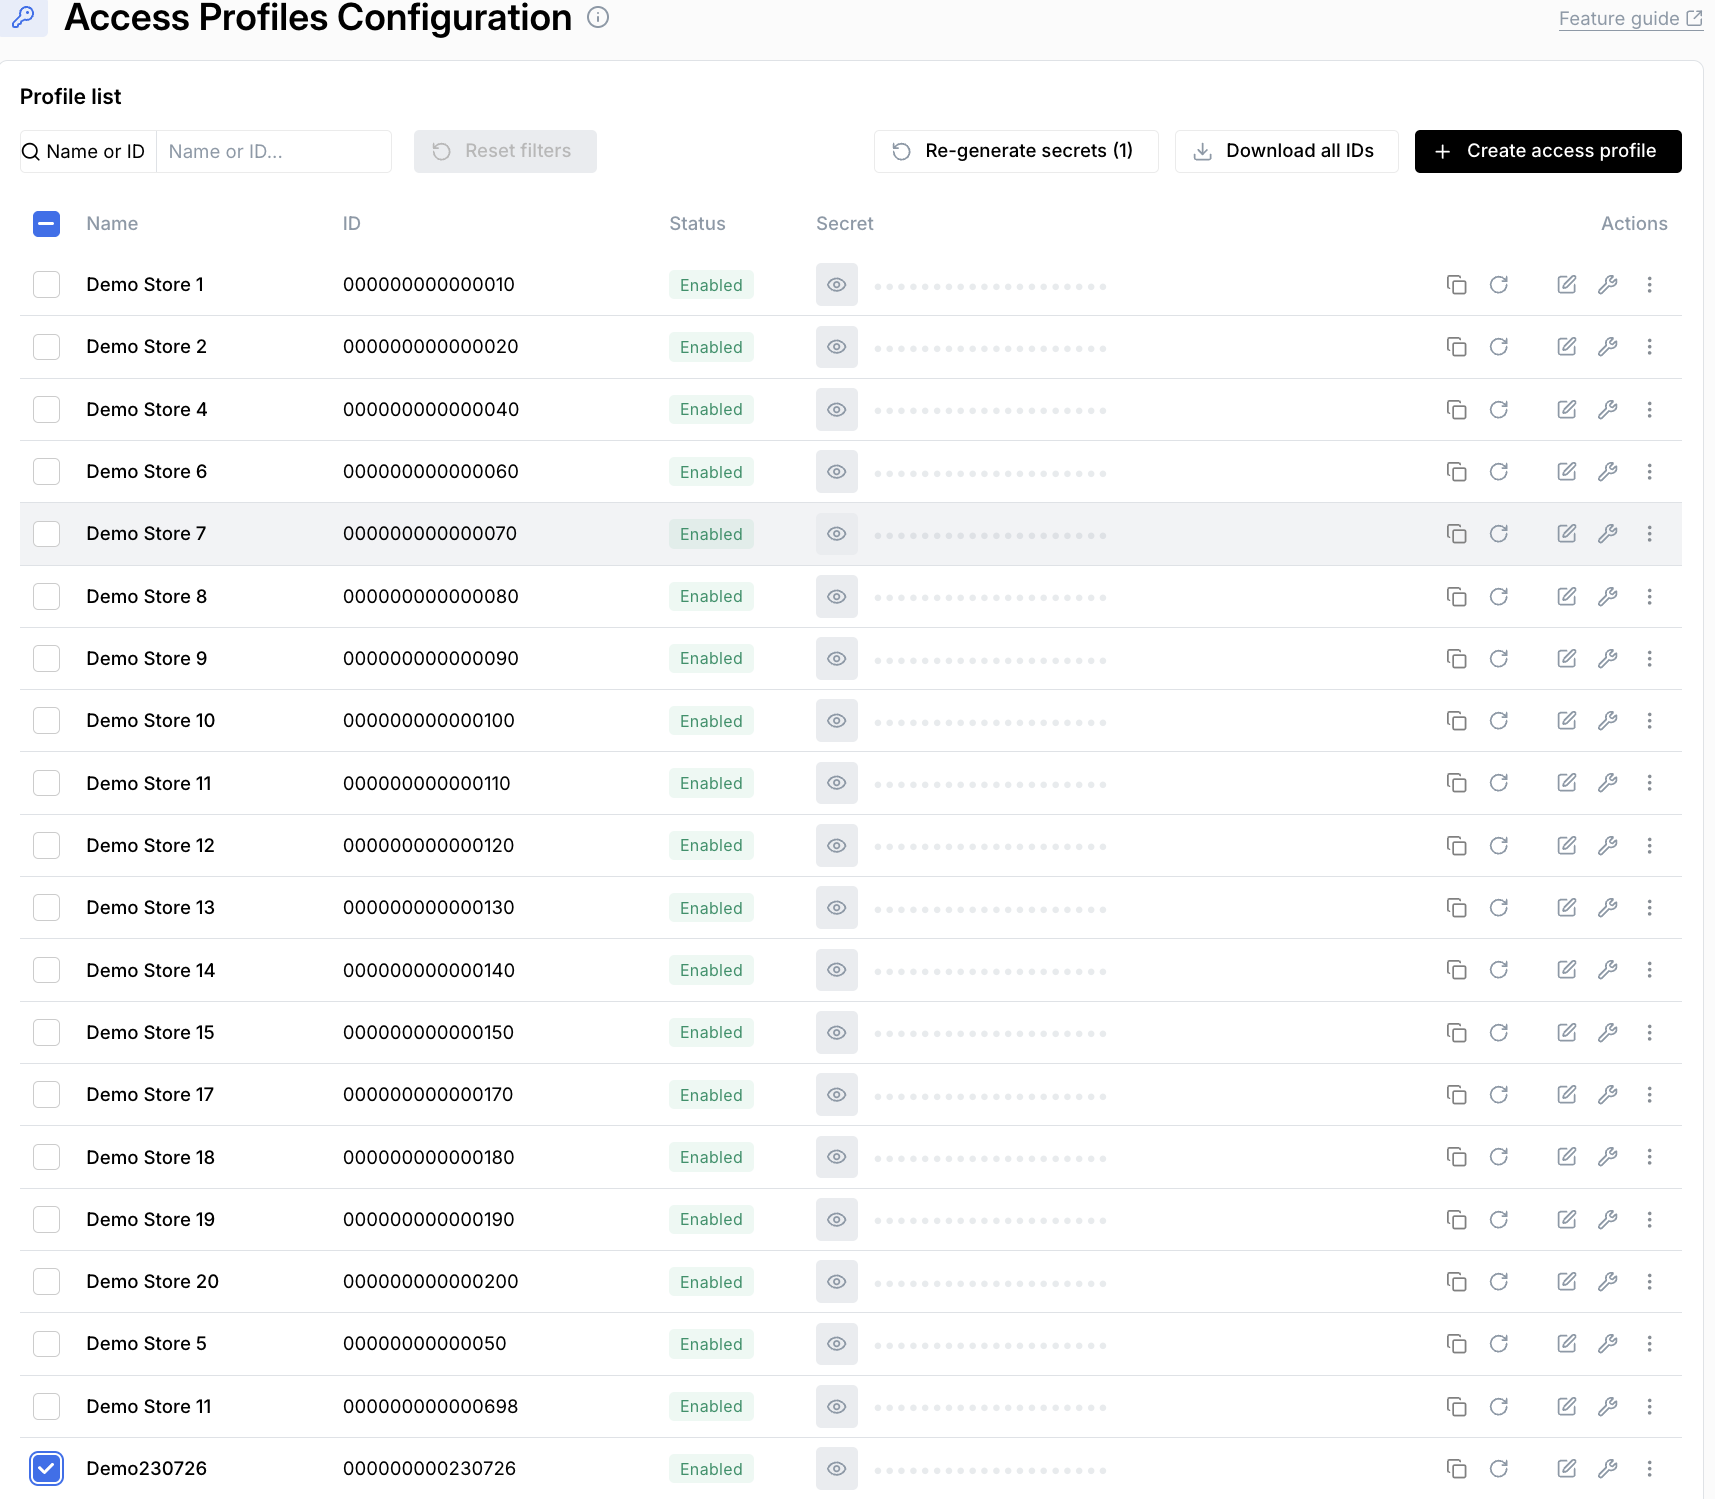
If you want to generate secrets for all profiles listed on a page, then click the 'Name' tick box at the top of the page. This action will select all profiles listed on that page view only (not all profiles in the entire list).
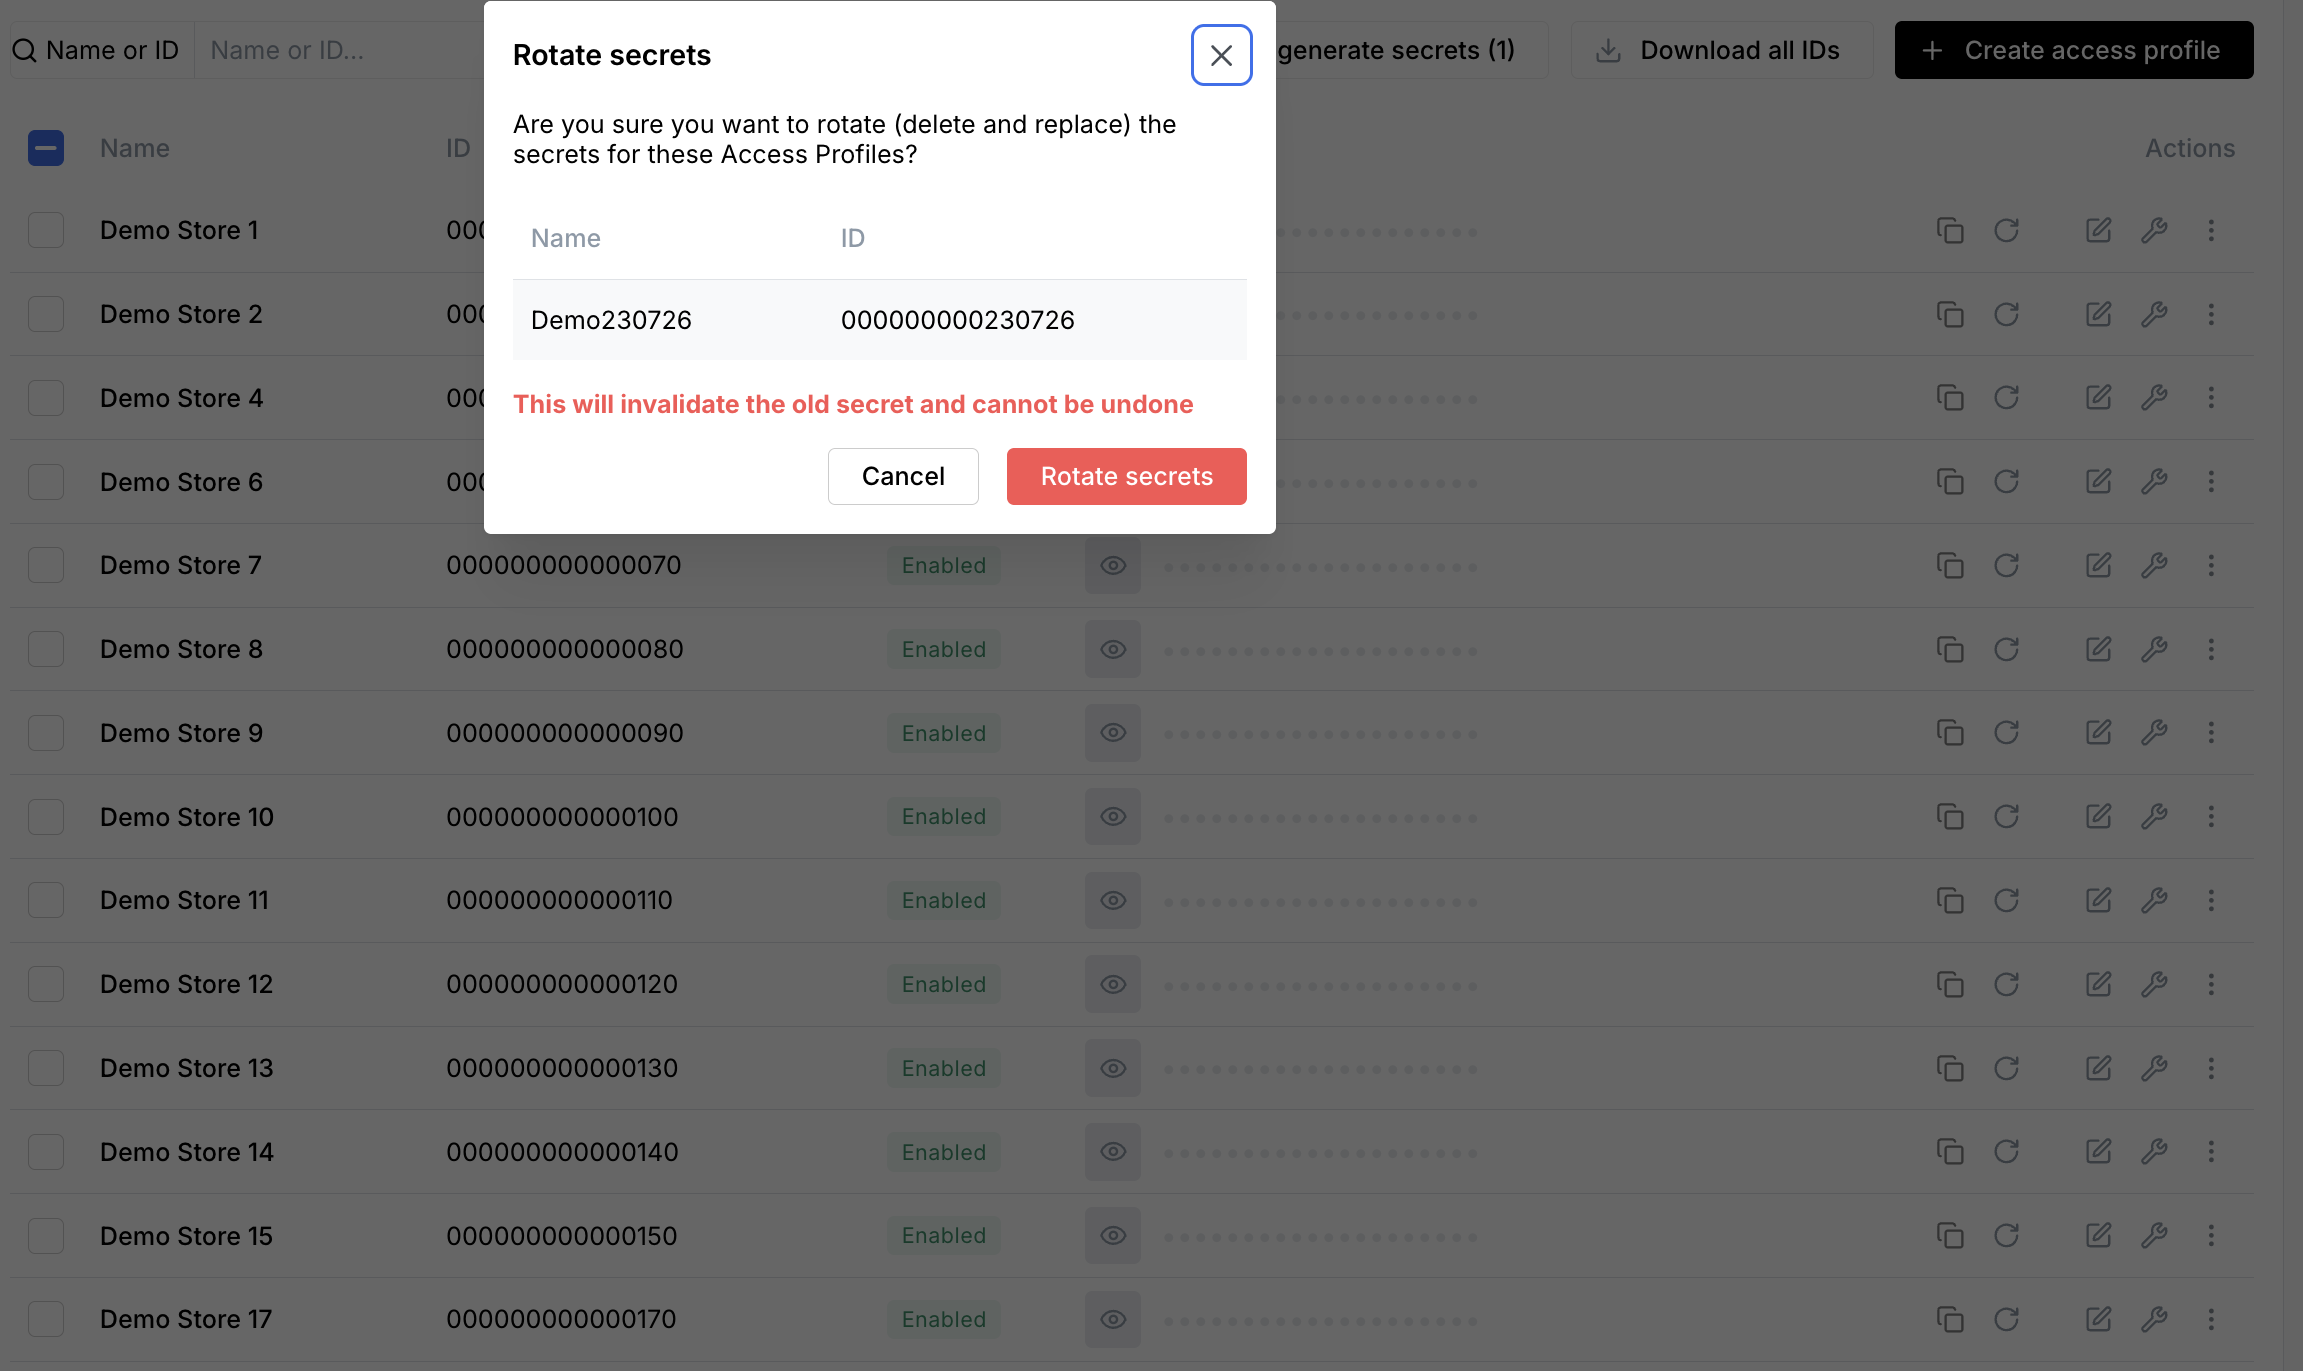
- The following warning will pop up. If you are sure that you want to proceed, click Rotate secrets.
- The new secret will display automatically and you will see that it has been changed. Hide the secret by clicking Hide.
You can also re-generate a secret for a single profile by simply clicking the refresh icon to the right of the profile row.

Download IDs
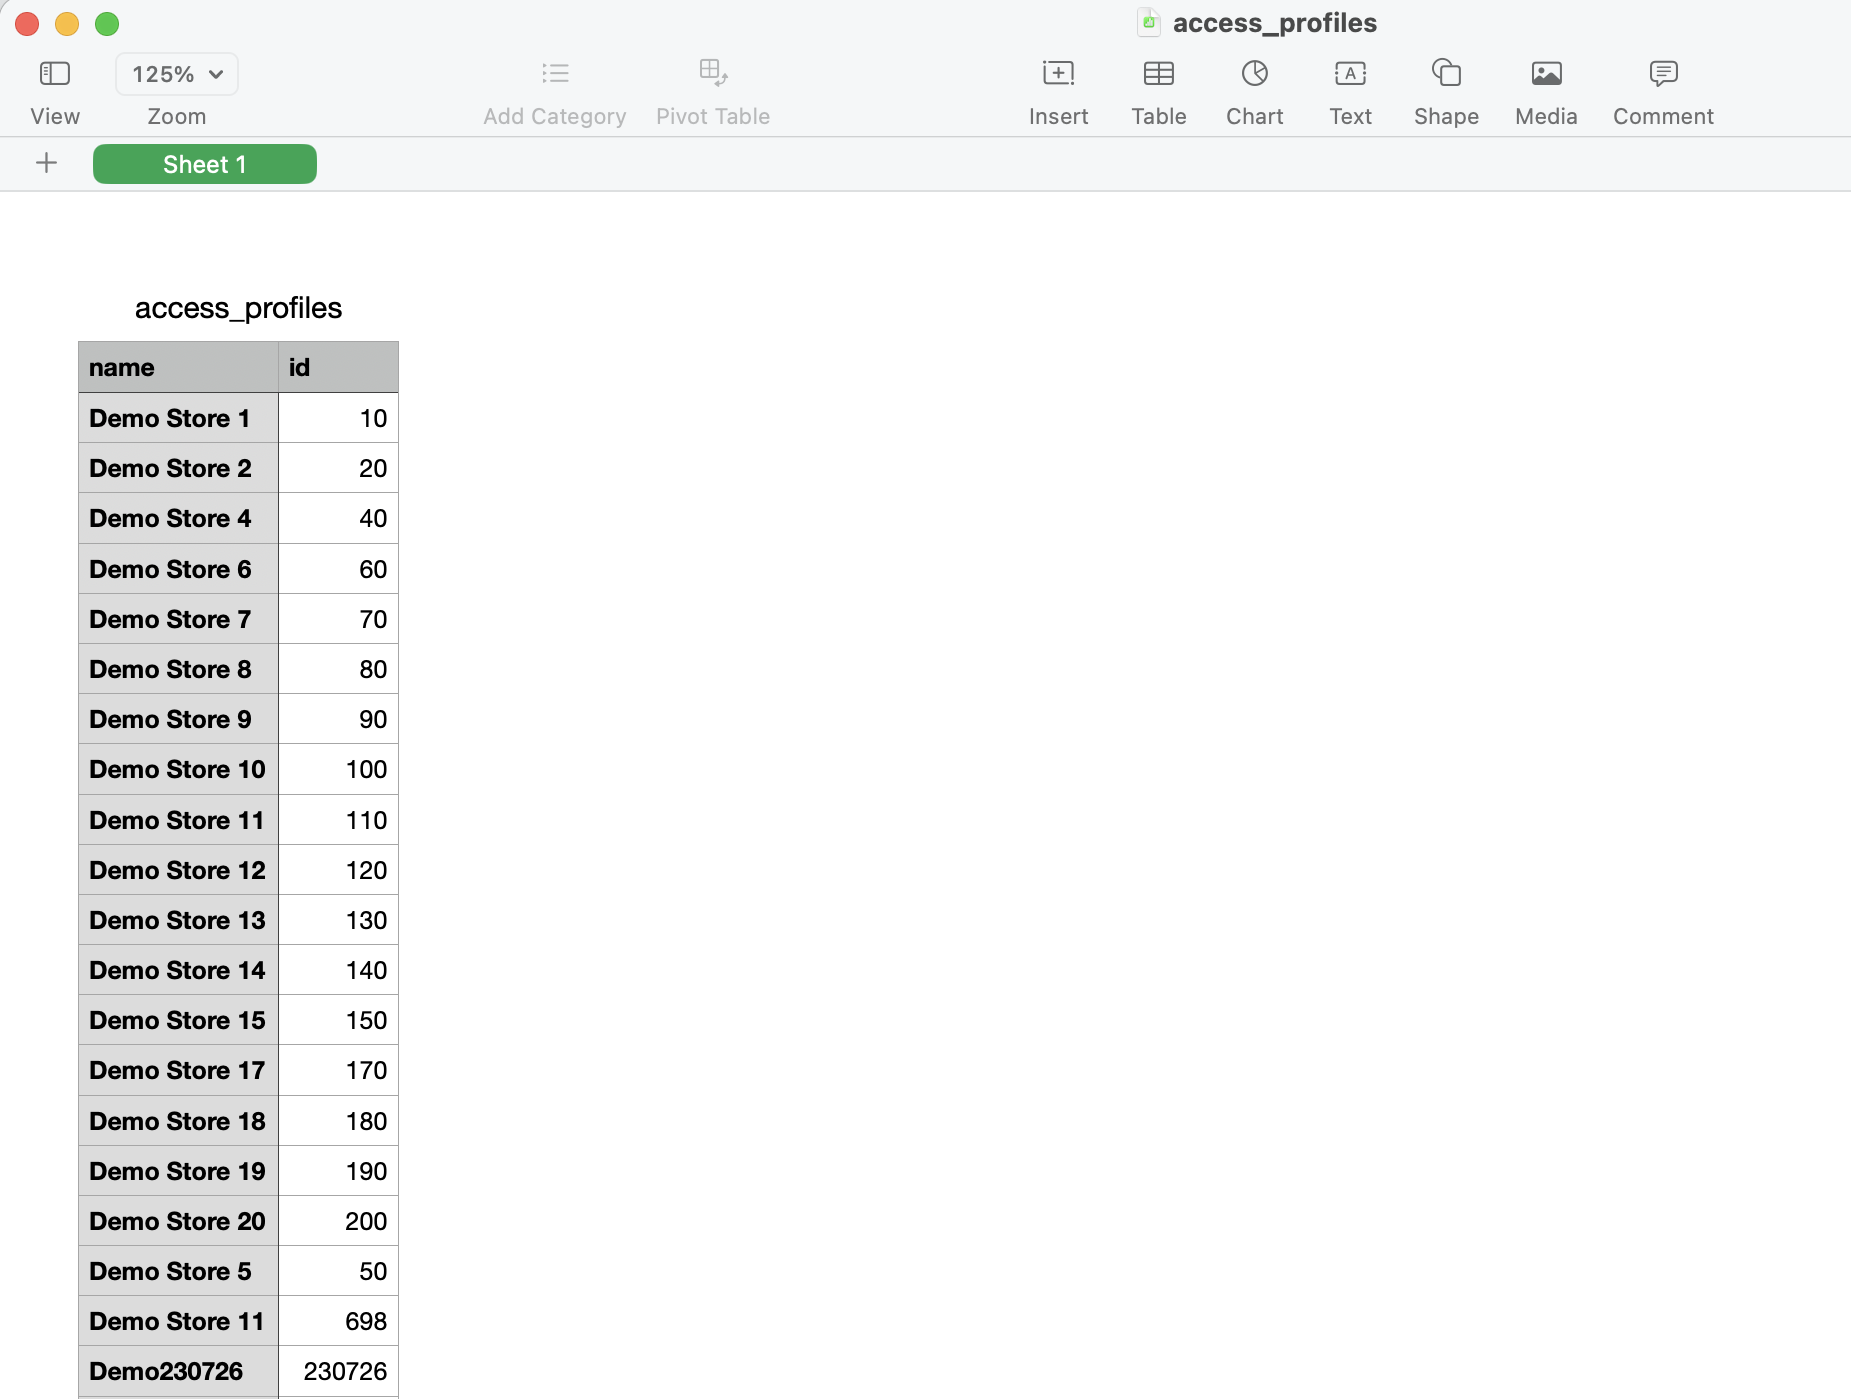
- To download all access profile IDs in the list, click the Download all IDs button.
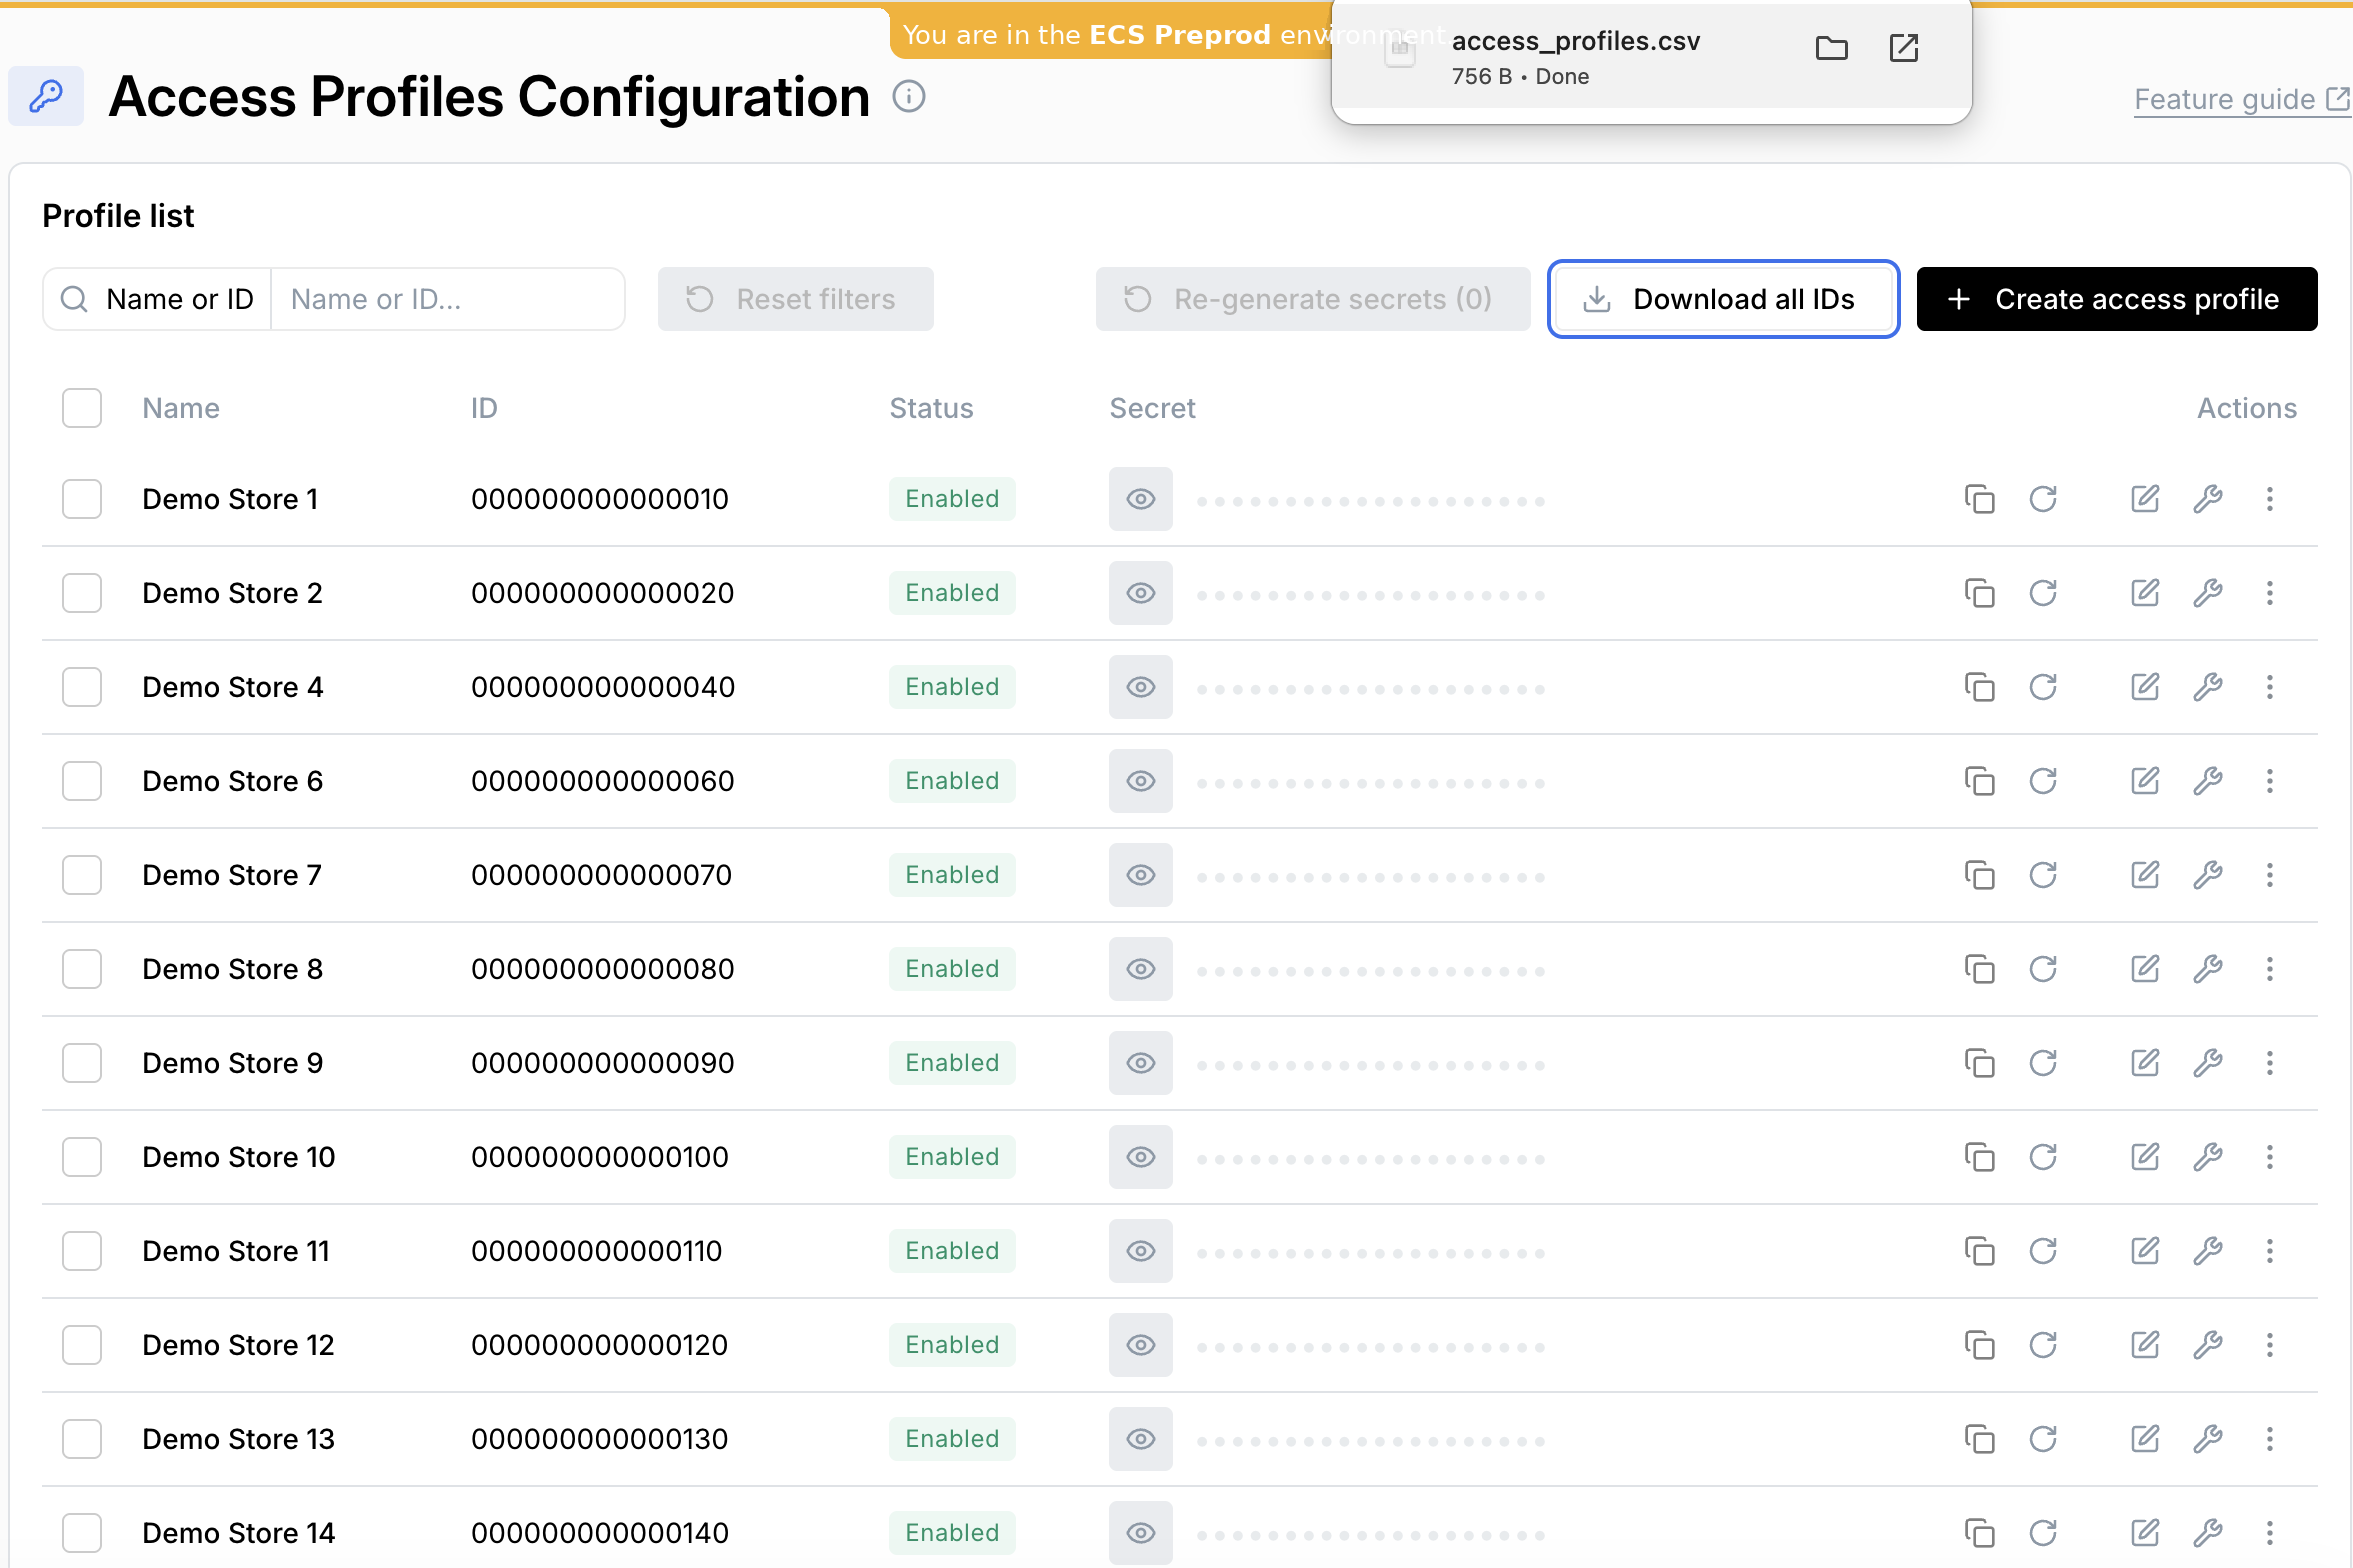
- The list of profile IDs will download as a csv file.
Delete an access profile
- Click on the three dots at the end of the profile row, and select 'Delete access profile'.
- You will see the following warning. If you are sure that you want to delete the profile then click Yes, delete.
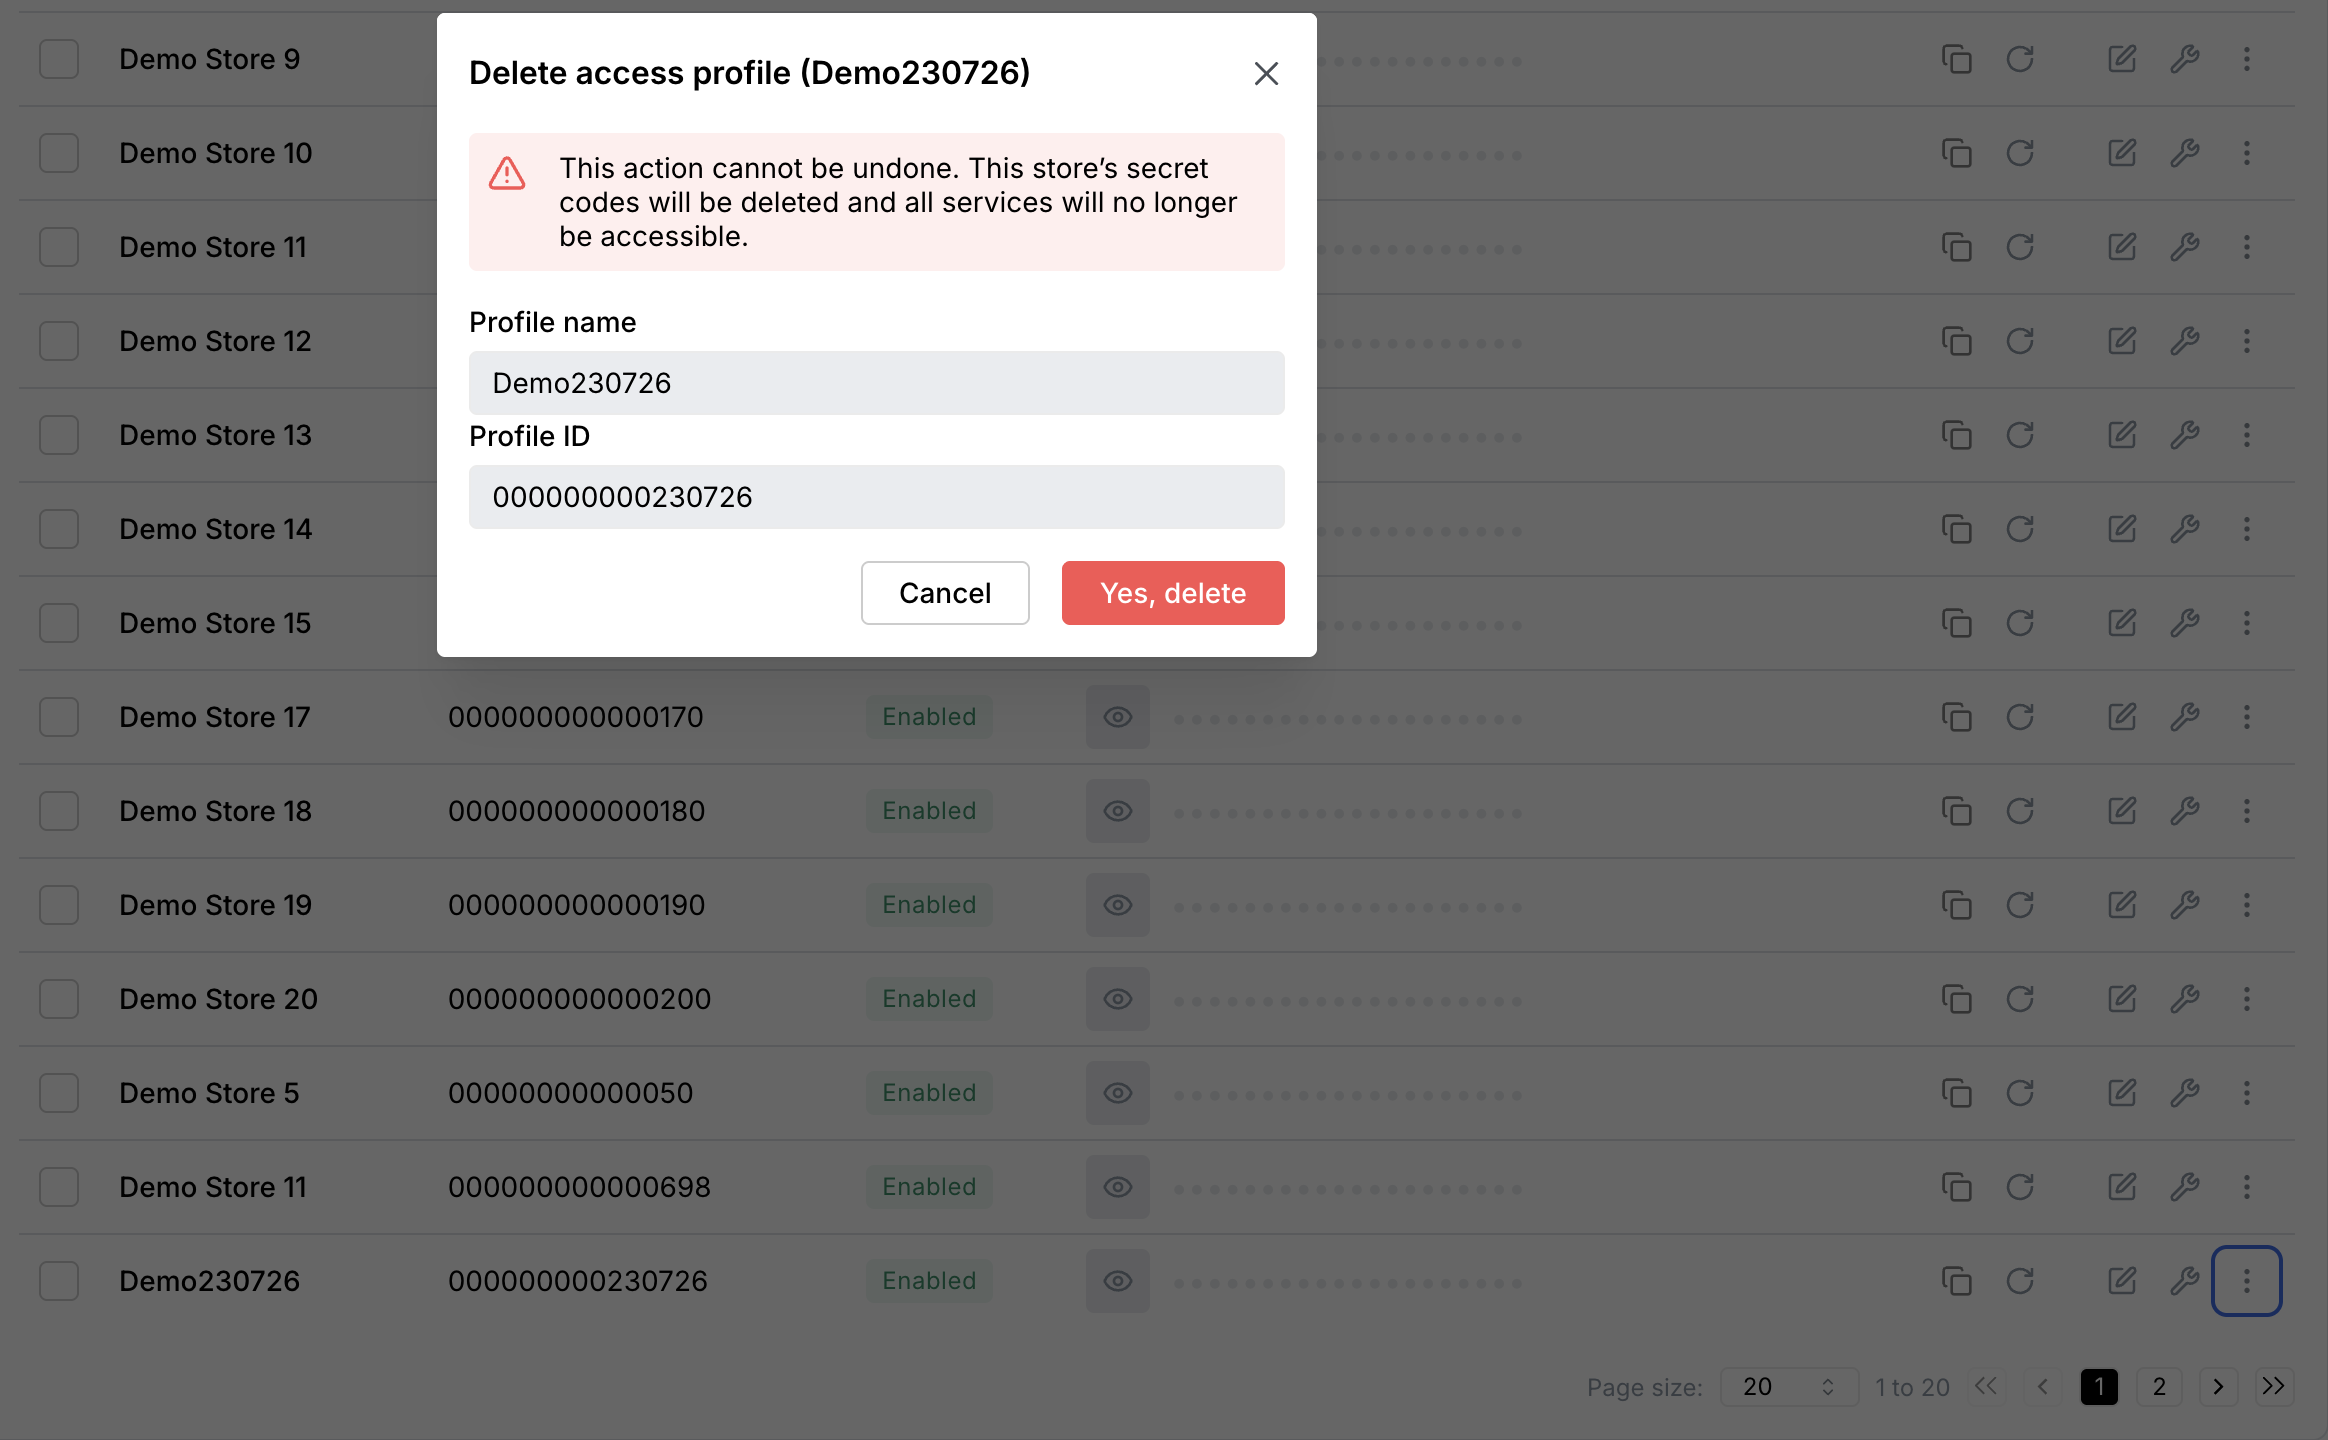
The deleted profile will disappear from the list of profiles.